Noodle soups are one of the greatest pleasures in life, but they tend to be very time-intensive – think Spicy Szechuan Beef Soup, or classic ramen that take around 10h to be done and dusted.
Well, not this one ! I wouldn’t ever post a bland noodle soup, as noodle soups are close to a religion to me. With a decent curry paste and a good broth, this Red Curry Ramen tastes just like one that’s been on the stove for hours, while you actually need 15 minutes to put it together ; all you need to do is to :
- Heat up some red curry paste with coconut milk
- Add broth ; let it simmer 10 minutes
- Meanwhile, blanch your veggies, cook your noodles
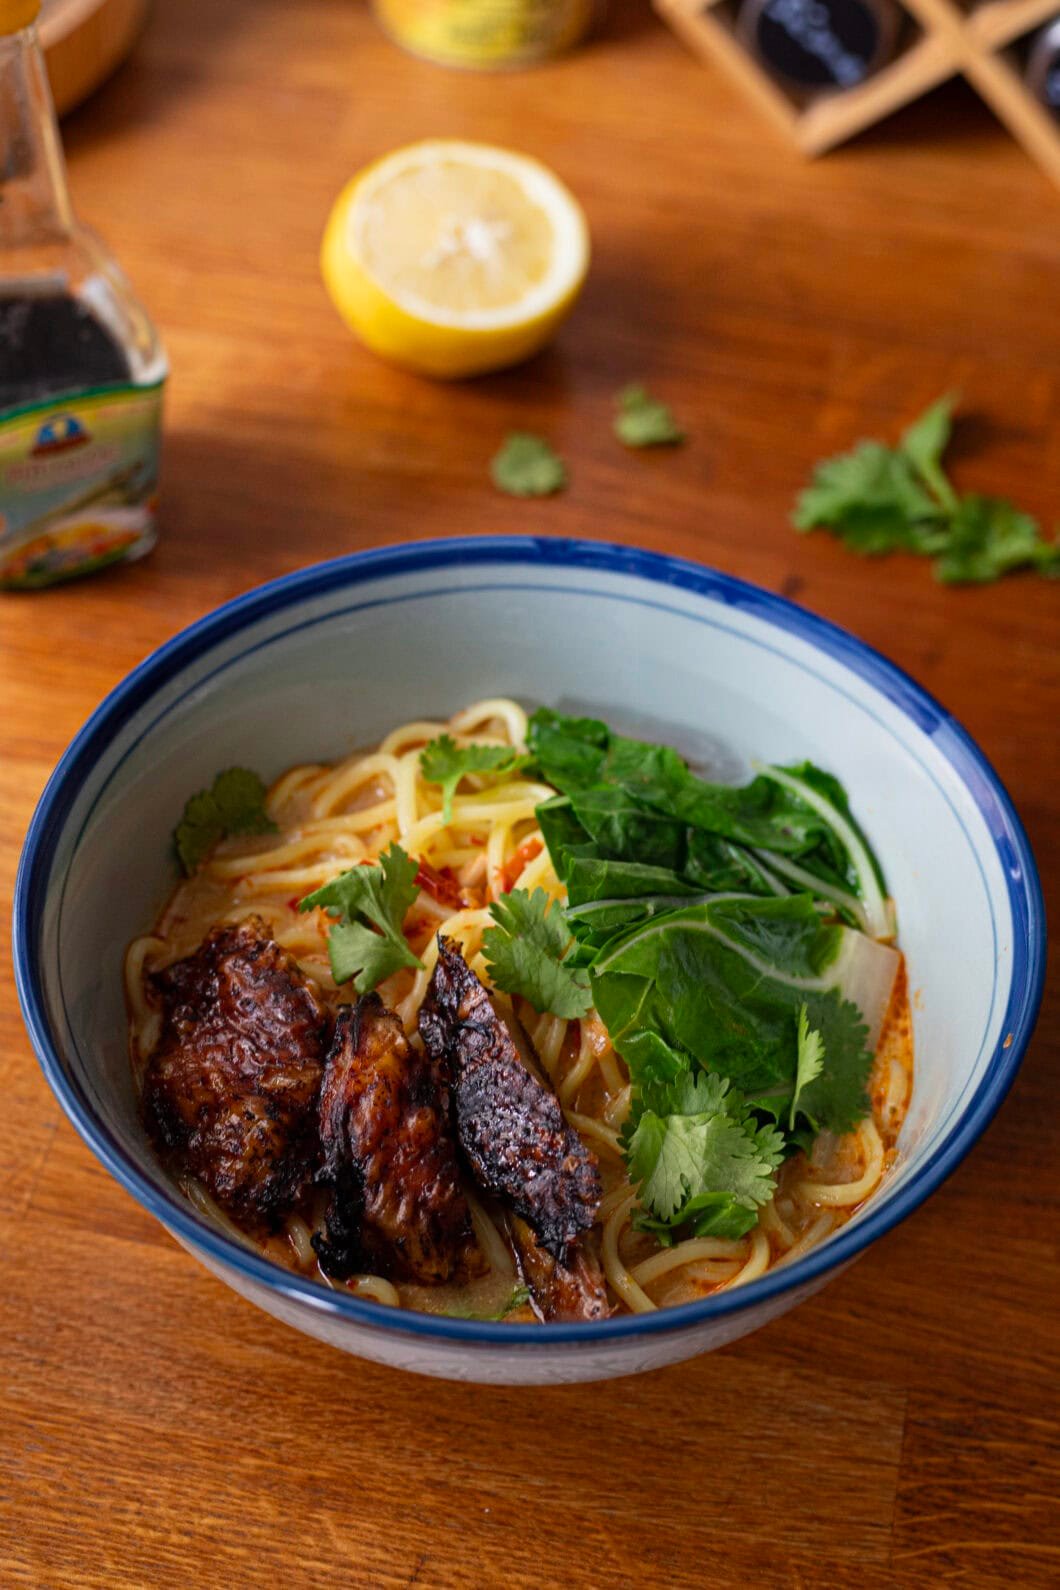
- Assemble with any leftover meat and herbs you want !
The bright orange broth tells you all you need to know : the depth and intensity of flavours, the spice-rich broth, and the milkiness of coconut are right here in front of you, demanding to be savoured. You don’t even need toppings : some noodles, some broth, and you’re good to go. I do recommend a touch of veggies though, which give a nice contrast texture-wise.
Granted, this is not an authentic recipe ; but it respects the Thai masterclass principles on balance, with a broth that is given contrast and depth of taste with the fish sauce, soy sauce and lime addition, and some freshness with cilantro.
If you’re willing to prep your own curry paste and broth, some time and work is needed, I admit ; the good knews is, you can put individual portions of those items in your freezer ; and whenever you feel soupy, you whip up a banging soup in a matter of minutes.
But even if you use ready-made curry paste and broth, you will be very happy with this recipe.
Easy Red Curry Ramen – Recipe
Ingredients – Where to find them
For some ingredients in this dish (like the red curry paste if you don’t make it yourself, or fish sauce and ramen), you might need to visit an Asian store :
- If you’re in Paris :
- your could go to the K-mart near Opera (there are several others K-marts, check on Google) ;
- you can also go to Tang Frères in the 13th (they have other stores in Paris but be careful, some are small, this one is large) or Paris Store in the 10th ;
- ever since I moved to the 18th, I’ve been going to XP 16 or Chen Market, but those shops are slightly smaller, especially XP16, and you might not find everything you need.
- If you’re in France :
- Paris Store has several shops across the country ;
- you can also order online ! There are several online Asian websites you can order from.
- For my foreign friends : I bet you can easily find some Asian shops around you or online, but if you can’t, message me with your location and I will try to find it for you !
Recipe – Advice & key points
- Do buy coconut milk in cans ; this way, you’ll have a coconut cream solidifed on top that you can use to initially cook your red curry paste.
- Careful, depending on your curry paste and the amounts you’re using, this soup can turn out very spicy. If you don’t like the heat, don’t use more than a tablespoon for two !
- If possible, use my recipe for the Thai clear pork broth, but it’s still fine if you use a ready-made chicken broth.
- Use your imagination (and the current contents of your fridge) to pick your toppings !
- Having leftover chicken, pork, beef, tofu ? Now is the time to use it !
- A hard-boiled egg or a soft-boiled egg is a top pick if you don’t have another protein-or even in addition to the protein.
- Any veggie laying around would do ;
- Come winter, my personal preference here would be some type of cabbage -any kind.
- In summer, grilled eggplants, peppers or zucchinis would be sublime !
- Ideally, I recommend making your own curry paste. If so, I don’t recommend making it on a weeknight ; make your curry paste over the week-end, for example, then you’ll have plenty to store in your freezer for anytime you feel like curry-ing.
- If using store-bought, it’s perfectly good too ! My two top picks would be the Maeploy and Namjai curry pastes. The Aroy-D brand is also great, plus it is vegan !
- I recommend buying proper pre-cooked ramen for this recipe. It should look like this (possibly yellower for some brands), and is shelf-stable (so not even in the refrigerated section) :

Let’s get soupy!