I was deep in my chicken phase — the kind where a rotisserie bird somehow ends up in the fridge every other day — but all I actually wanted was something fresh, zingy, and cold enough to survive a heatwave.
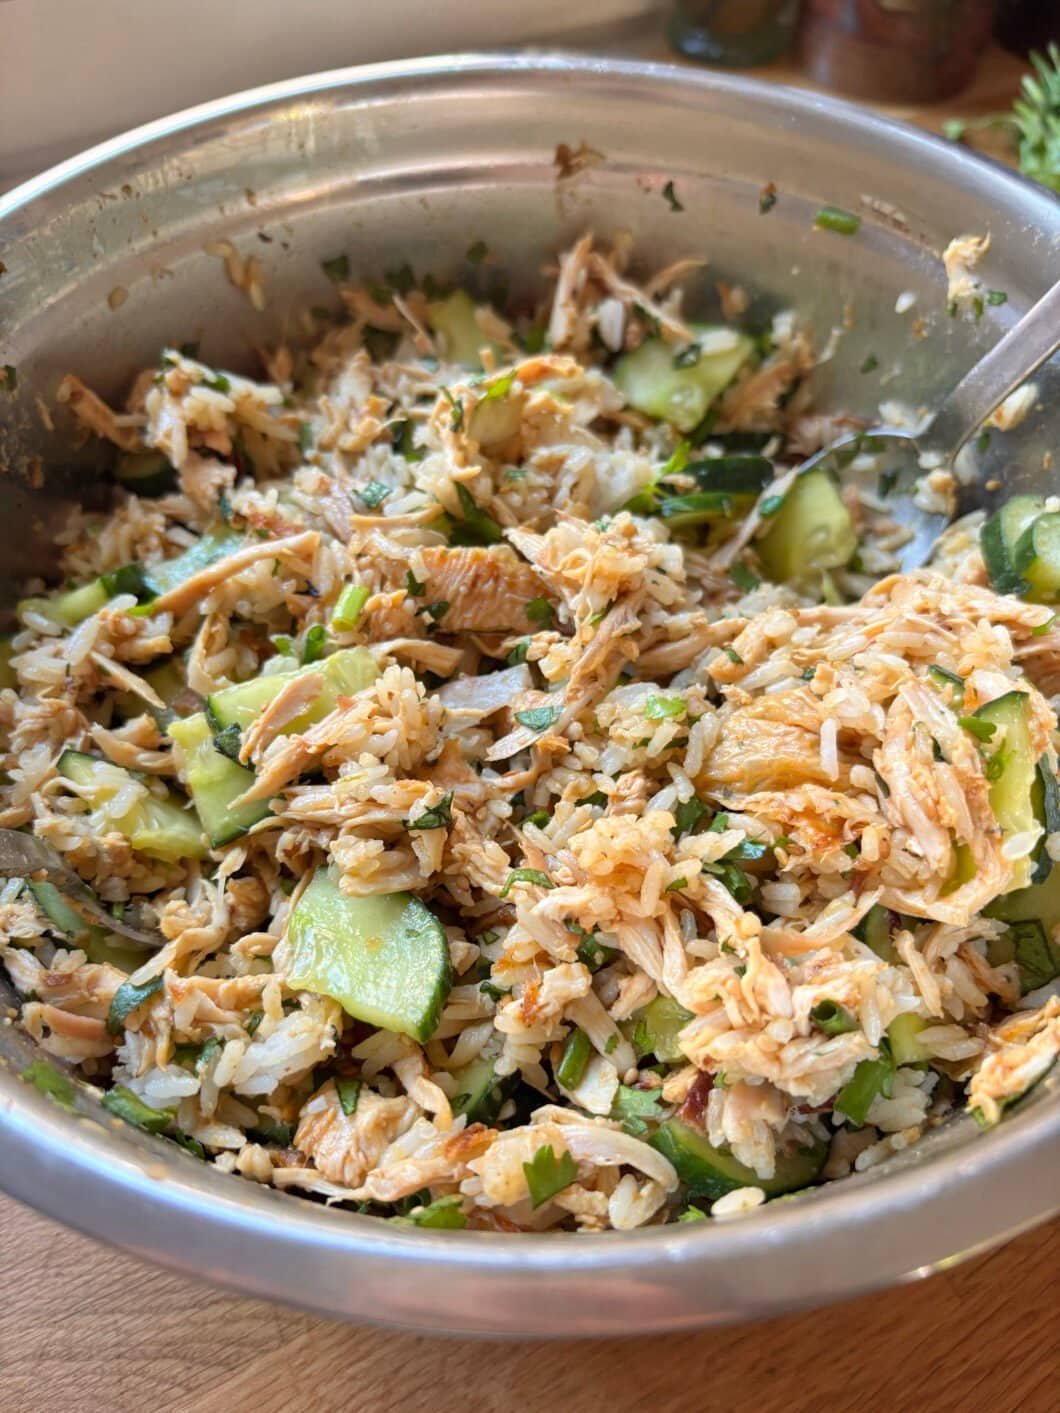
This rice salad was the answer. Shredded roast chicken, crunchy cucumber, a fistful of coriander, and a hoisin-lime dressing that’s equal parts savoury and sharp. The only thing that touches the stove here is the rice, so it comes together fast and stays completely painless, even when it’s too hot to think.
It’s the kind of salad that manages to feel light and properly filling at the same time — my go-to lunch for the entire summer.
Chicken Rice Salad – About the dish
This salad borrows from flavours you’ll find across Chinese and Southeast Asian kitchens: shredded poached or roasted chicken tossed with rice, finished with crispy fried shallots, sesame, and a bright citrus-forward sauce.
Hoisin sauce, the salty-sweet base of the dressing here, is a Cantonese staple traditionally used to glaze meats and flavour stir-fries — its deep umami and gentle sweetness pair perfectly with the sharpness of lime and the nuttiness of sesame oil. Combined with the leftover fat from the roast chicken, it turns into a dressing rich enough to coat every grain of rice without weighing the salad down.
Using a store-bought rotisserie chicken keeps things simple, but it’s just as good with any leftover roast or poached chicken you have on hand.
Chicken Rice Salad – Recipe
Ingredients – Advice & key points
- Rice: jasmine recommended for its fragrance and fluffy texture once cooled. Rinse it well before cooking to keep the grains separate.
- Roast chicken: 1 small rotisserie chicken, shredded. A store-bought one keeps this a no-cook protein — swap in any leftover roast or poached chicken you have on hand.
- Cucumber: Adds crunch and freshness against the richness of the dressing.
- Spring onions: Use both the white and green parts for more flavour.
- Coriander: roughly chopped. Adds a herbal lift — swap for mint if you’re not a fan.
- Fried onions: Store-bought crispy fried onions or shallots work perfectly and add crunch.
- Sesame seeds: toasted if you have time, for extra nuttiness.
- Chicken fat: 3 tbsp of the fat and juices from the roast chicken. It adds incredible savoury depth to the dressing — don’t skip it if you can help it.
- Sesame oil: for nutty depth in the dressing.
- Garlic: grated, for a punchy background note.
- Hoisin sauce: The salty-sweet backbone of the dressing.
- Soy sauce: for extra savouriness alongside the hoisin.
- Lime: 3 tbsp juice plus the zest of 1/2 a lime for the dressing, with extra wedges to serve.
- Chili oil: for serving, adds heat and shine to the finished salad.
Recipe – Advice & key points
- Cook the rice ahead: Cook it as usual, then spread it out and let it cool completely before assembling — warm rice will wilt the herbs and turn the salad mushy.
- Prep while it cools: Shred the chicken and whisk the dressing while the rice cools, so everything is ready to toss at once.
- Mix the dressing separately: Combine the chicken fat, sesame oil, garlic, hoisin, soy sauce, lime juice, and zest in a bowl, and taste before adding.
- Toss gently: Fold the dressing through the rice and salad delicately, without crushing the grains.
- Serve topped, not mixed in: Add the fried onions, chili oil, and lime wedges just before serving so they stay crisp.
This is the kind of salad that looks a little fancy but takes almost no real effort — the rice can be cooked well ahead, the dressing keeps in the fridge for days, and the actual assembly takes minutes. A perfect make-ahead lunch for hot days.
Enjoy !