I’m not a baker.
I like the freedom there can be in cooking. No need to weight everything to perfection, you can eyeball and feel the measurements as you cook.
On the contrary, I always found dough-making to be very precise and intimidating. That led me to find ways around it, belittle its importance and buy ready-made stuff.
I won’t anymore. What a difference it can make ! I was mind-blown. There is simply no comparison between shortcrust pastry that you buy from the store and the one you bake yourself. Texturewise and flavourwise, they are worlds apart. The strong buttery flavour you get from the homemade stuff is addictive ; but the greater difference is from the slightly crumbly texture, with some bite and some crunch, that I have absolutely never found in ready-made dough.
Just try to make your shortcrust pastry yourself, next time. I promise, even if you struggle -and I did- it won’t take you more than a half hour. Without issues, 15-20 minutes will do.
This dough is perfect to make quiches ; I recommend my Quiche Lorraine with Asparagus, for example.
Basic Shortcrust Pastry – Recipe
Ingredients – Advice & key points
- Butter:
- Use room-temp butter, that you took out from the fridge 1h earlier.
- Don’t try to make it warmer quickly in the microwave ! If the butter is softened, your dough may very well start to break.
- Don’t mix everything together !
- First, mix together the flour and butter, in between your hands. You must reach a sand-like texture.
- Then, only, add your salt.
- Form a small well, where you’ll put your water and egg yolk.
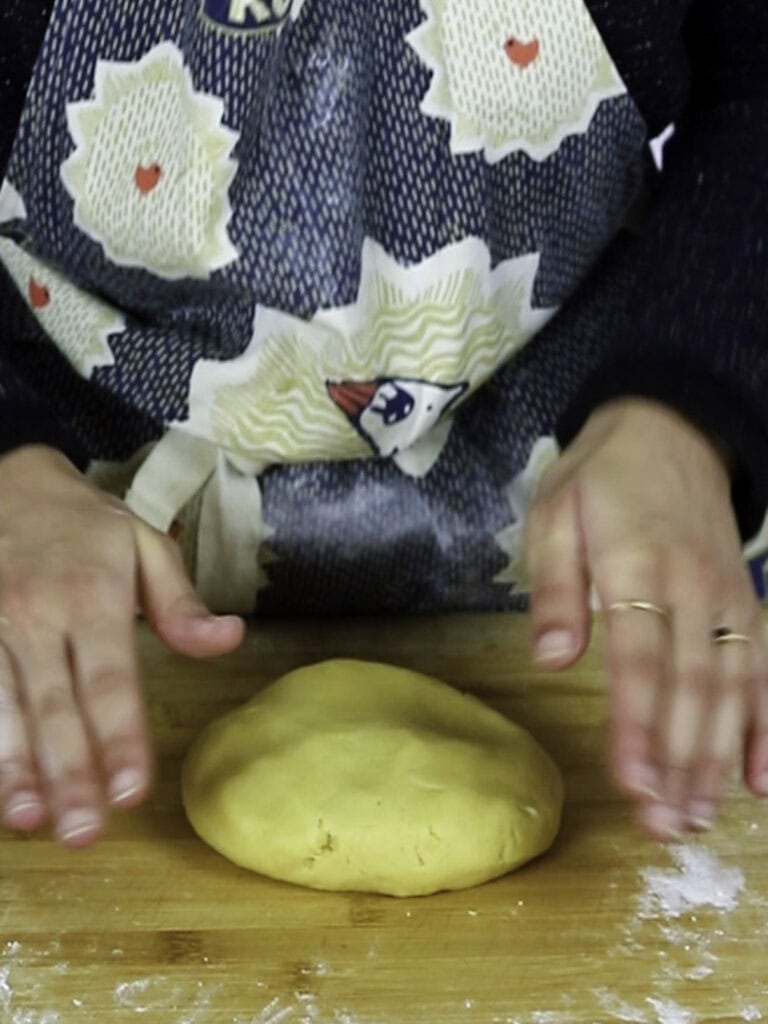
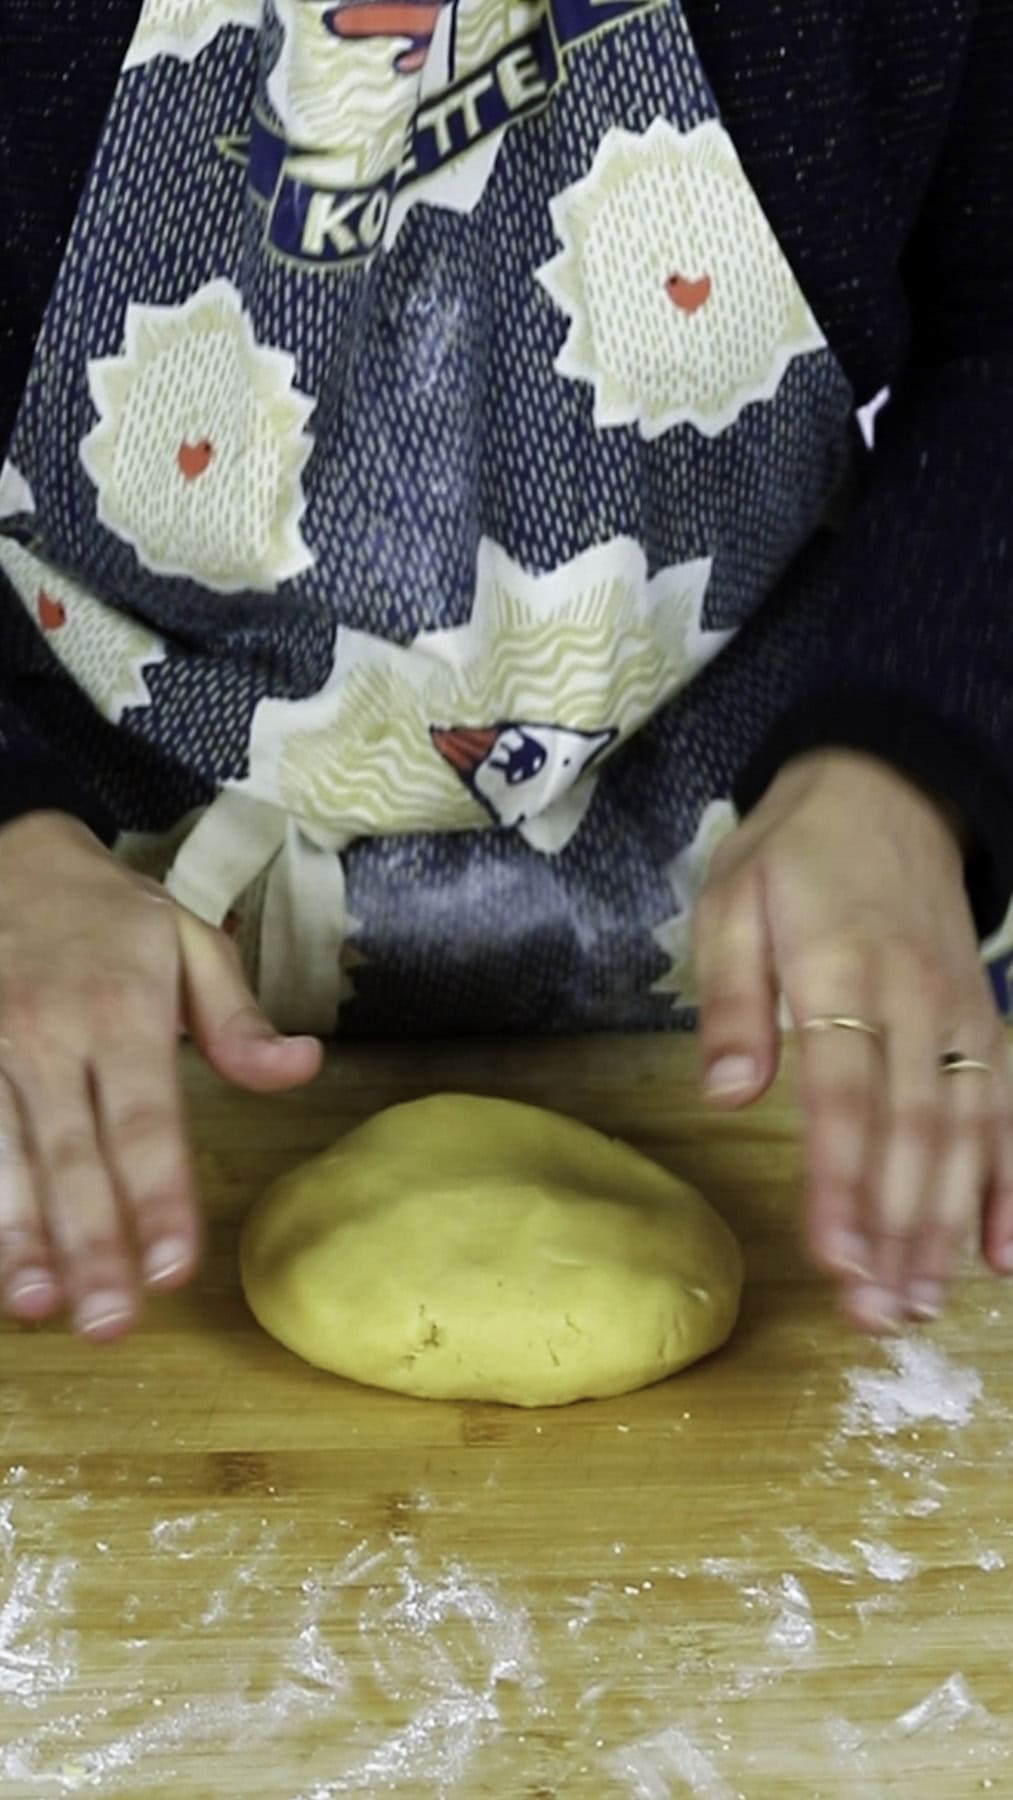
- Then, quickly knead, roll in a tight ball and put into your fridge.
- It is important to let it rest in the fridge at least 30 minutes (ideally 1 to 2 hours). It allows the dough to lose its elasticity, making it easier to work and roll out, and prevents it from shrinking.
- Don’t freak out if the dough seems rock solid when out of the fridge ! Leave it at room temp 15 minutes or more until it softens again.
- Small things to keep in wind :
- Don’t knead too long ! You don’t want to warm the dough.
- Don’t forget to put some flour on your work surface, as you knead or roll the dough ! Else the dough will stick and it’ll get messy.
- Try to roll it down until it is nicely thin, about 3-4mm thick.
Cooking your Basic Shortcrust Pastry
- You can precook this dough for 10 minutes at 180°C. Then, you can cook according to your recipe.
- To fully cook it without filling it, bake it 30 minutes at 180°C.
- When cooking it, don’t forget to :
- Poke a few holes in the dough, and ;
- Put a sheet of baking parchment with dry beans on top.
- This will ensure your dough doesn’t swell up once in the oven !
Now come and cook !

Basic Shortcrust Pastry
Description
This is the dough you didn't know your needed. Drastically improve your quiches and pies with a homemade Shortcrust Pastry. It is buttery, it is crumbly, with a real bite that will make you forget all about the ready-made ones.
Ingredients
Instructions
Mix & knead
Sift your flour, then add softened, room-temp butter, that was left on the counter at least 30mn.
Mix and integrate with a pastry cutter or a fork.
Add salt. Then work with your hands and fingers until you get a sand-like texture (see video).
Dust your work surface with flour. Add water (not all at once, depending on your flour moisture level and room temperature) and egg yolk to a well in the center of your butter and flour mixture.
Mix, then quickly knead (it's called '"fraser" in French ; you need to roll out and spread the dough. Check the recipe video ! ). Do this until it comes together, and form a ball.
Then, wrap you dough ball into cling wrap. Make sure there's no opening so that it doesn't dry out. Leave in the fridge for at least 30 minutes.
They see me rollin'...
Take your dough out of the fridge, and unwrap it.
Place it on a floured work surface.
With a rolling pin, roll your dough outwards, in one single motion, and in one direction only. Do not press too hard while rolling.
Then give your dough a quarter turn and repeat the one-way-roll. This will ensure you get a nice round shape.
Keep repeating this process until your dough is thin enough (around 3mm), and check that it covers well your baking dish.
Spread butter, then flour on your baking dish to make it non-stick.
Delicately place your dough into your baking dish, then adjust, pressing on the edges of the baking dish so that the dough doesn't fall off while cooking.
Trim the excess dough, first with your hands, then with a knife.
Use leftover dough that you've rolled into a small ball to press the corners of the dish, to get the right perpendicular angle for your pie.
Now you can cook it as is, or place any filling you want first, depending on your recipe ! Don't forget to poke some holes in it with a fork, and if cooking without filling, to cover with parchment paper and uncooked beans.
Et voilà !! You're done !


