Post Type ArchivesRecipes

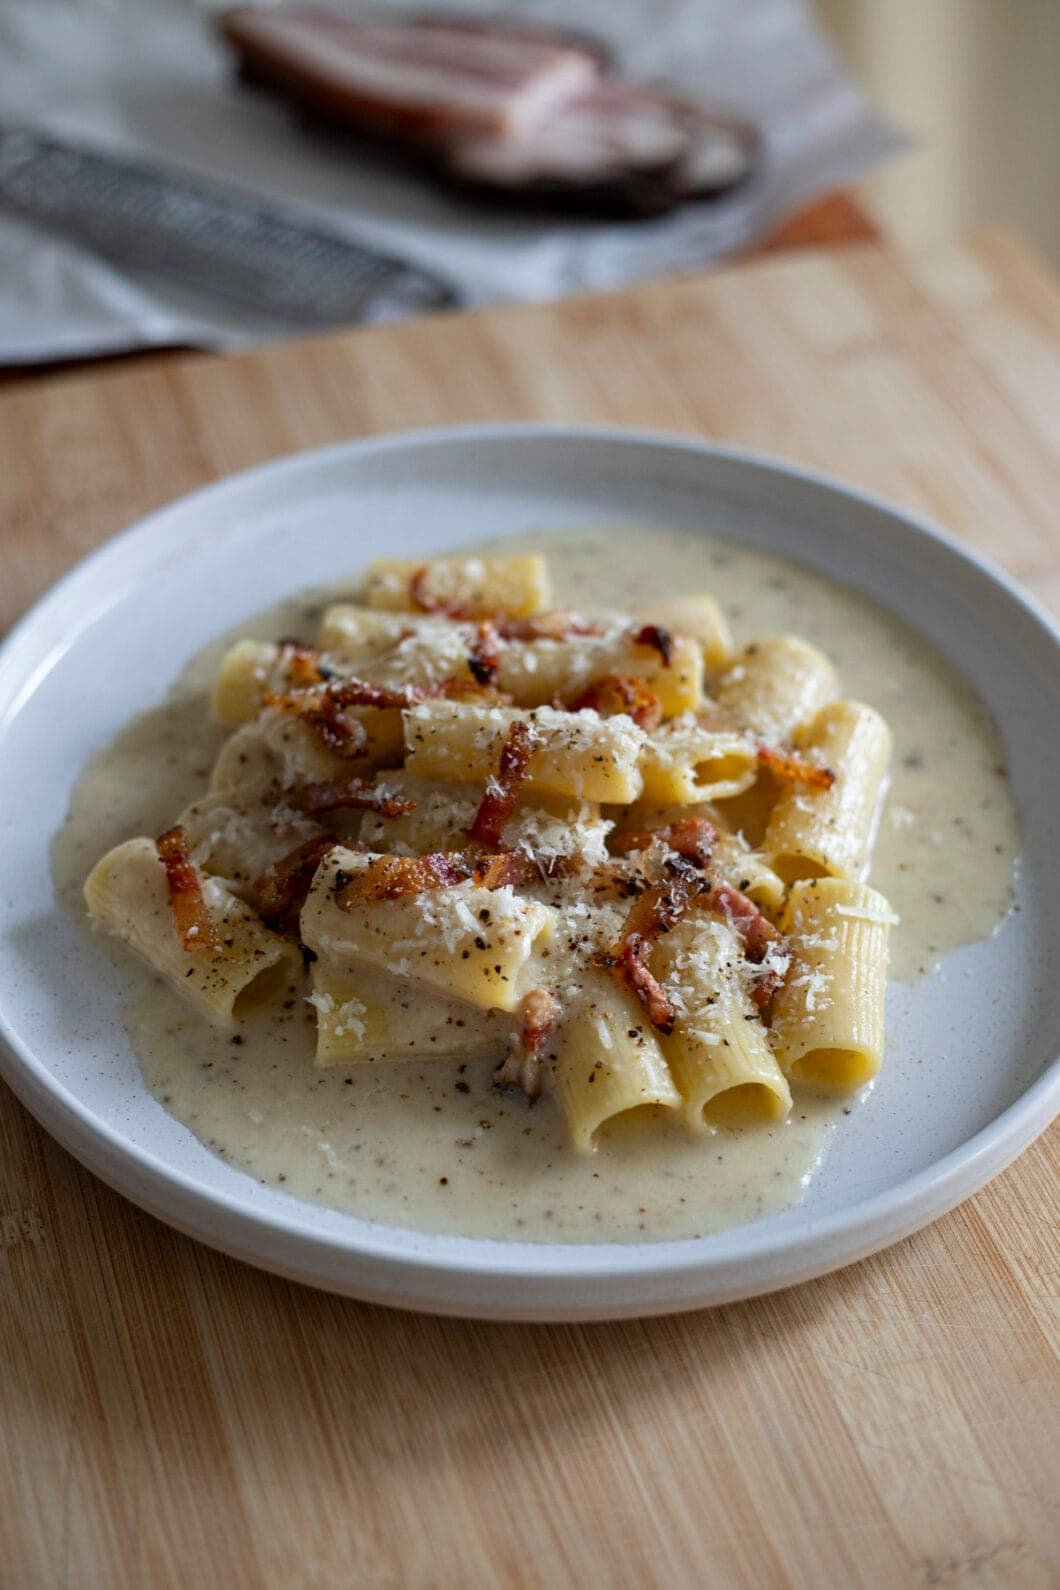
Authentic Rigatoni alla Gricia

I already posted three of the four iconic Roman pasta : Carbonara, Amatriciana, and Cacio e pepe are but a click away.

Last but not least, pasta alla Gricia remained to be covered. This pasta dish is at a crossroads between the Carbonara and the Cacio e pepe. Don’t have fresh eggs ? No matter ; if you already have your Roman basics in your fridge and cupboard, you’re good to go ! You only need to gather 3 long-lasting ingredients :

  • Guanciale,
  • Pecorino Romano,
  • Black pepper.

That is all ! Along with your favourite pasta shape, of course –trafilata al bronzo please ! If you’re familiar with my former pasta recipes, you already know that this pasta kind, extruded through bronze, will present small irregularities that enable the sauce to cling to it.

Gricia pasta is usually made using Rigatoni ; their tubular form, with ridges, make it perfect both for coating the beautiful sauce, and giving a hiding spot for our tiny guanciale pieces. If you ask me though, I’d say tonnarelli or spaghetti are also perfect here.

If you have any doubts on how Pecorino + Water are enough on their own to make a delicious sauce, forget about them ; the Pecorino and guanciale fat act both as binding agents for the starchy water, and as flavour bombs, while the black pepper brightens up the fattiness of the sauce.

As for our 3 other recipes, the recipe here is exceedingly simple, but demanding at the same time. Be patient ; take the time to grind your black pepper, to grate your Pecorino, to get your guanciale golden-brown ; at the very end of the cooking process, do add your Pecorino little by little, and cautiously eyeball the pasta water level, so that the sauce turns coating, yet not watery.

You’ll need to focus, it is true, but none too long ; this pasta will take up 30 minutes of your time, start to finish. Perfect as a weeknight treat !

Authentic Rigatoni alla Gricia Recipe

Ingredients – Advice & key points

I usually go to Eataly to get the produce I need. If you don’t have one near your location, you can find fresh produce like guanciale and pecorino at your local Italian deli, maybe even your pasta. For pasta, if not available there, you should be able to order it online quite easily.

  • Pasta :
    • While I believe rigatoni is the best choice for this recipe, and was usually used in restaurants in Rome when I visited, tonnarelli or spaghetti would also work well.
    • Not familiar with Bronze Drawn pasta ? Then read above, and you’ll secure one of the most important secret for perfect, Italian approved pasta.  
  • Cheese(s) :
    • Very important : Use some aged cheese ! If below the 8 month range, the Pecorino might be overly moist and won’t melt properly.
    • You can stick to Pecorino Romano only, which is the most traditional way. If your Pecorino type is strong, you might use a 70/30 blend with Parmigiano, which will tone down the strong Pecorino flavour. It depends on your Pecorino type ; if it is quite aged, in the 24-36 months range, you might benefit from adding a bit of Parmigiano.
    • Careful ; only add your cheese when your fire is turned off ! Else, your sauce will turn lumpy.
  • Pepper :
    • It is important to use freshly ground black pepper.
    • I personnally use this blend from Roellinger, but you can really use any, except highly fragrant, exotic ones.
    • If you don’t own a mortar and pestle, simply use the bottom of a small pot.

Recipe – What to pay attention to

  • Pasta :
    • Don’t oversalt ! While 10g of salt/liter is usually recommended, here, with the salt from the cheese, you can easily halve this amount.
    • We’ll cook the pasta half of the packet cooking time in water, then in the pan with the peppery water. It is important that you taste several times starting 2 minutes before the theoretical end time, so that you get perfect al dente pasta.
  • Black pepper :
    • You want to toast it once ground, along with your guanciale, but don’t let it burn or it’ll taste bitter.
  • Pecorino :
    • It is very important to thinly grate your Pecorino to that it melts properly. You can use a microplane or a lime zester, but if you have a kitchen robot with a really thin setting, it will also work just fine and save you the trouble.
    • Do not use pre-grated cheese ! Additives are added to these cheeses so that they don’t clump together, which will prevent it from integrating properly in your sauce.
  • Adding your sauce : Remove your pan from heat at least 20 seconds before adding your sauce, otherwise the Pecorino might clump. Then incorporate your sauce progressively.
  • Plating : I highly recommend heating your plates in the oven for 10 minutes at 80°C before plating. This will prevent the sauce from getting cold too quickly and becoming unappealingly “set”.

Now you’re fully ready to cook a magnificent pasta dish. Off to your kitchen !

If you’re interested in more Italian pasta recipes besides the Roman ones, you can also check my Ragu alla Bolognese recipe, or my Butternut and guanciale pasta recipe.
Mhajeb (Savoury Msemen)

The appeal of Honey Msemen is obvious. Moist and crunchy squares of dough doused with honey and butter ; who wouldn’t crave it ?

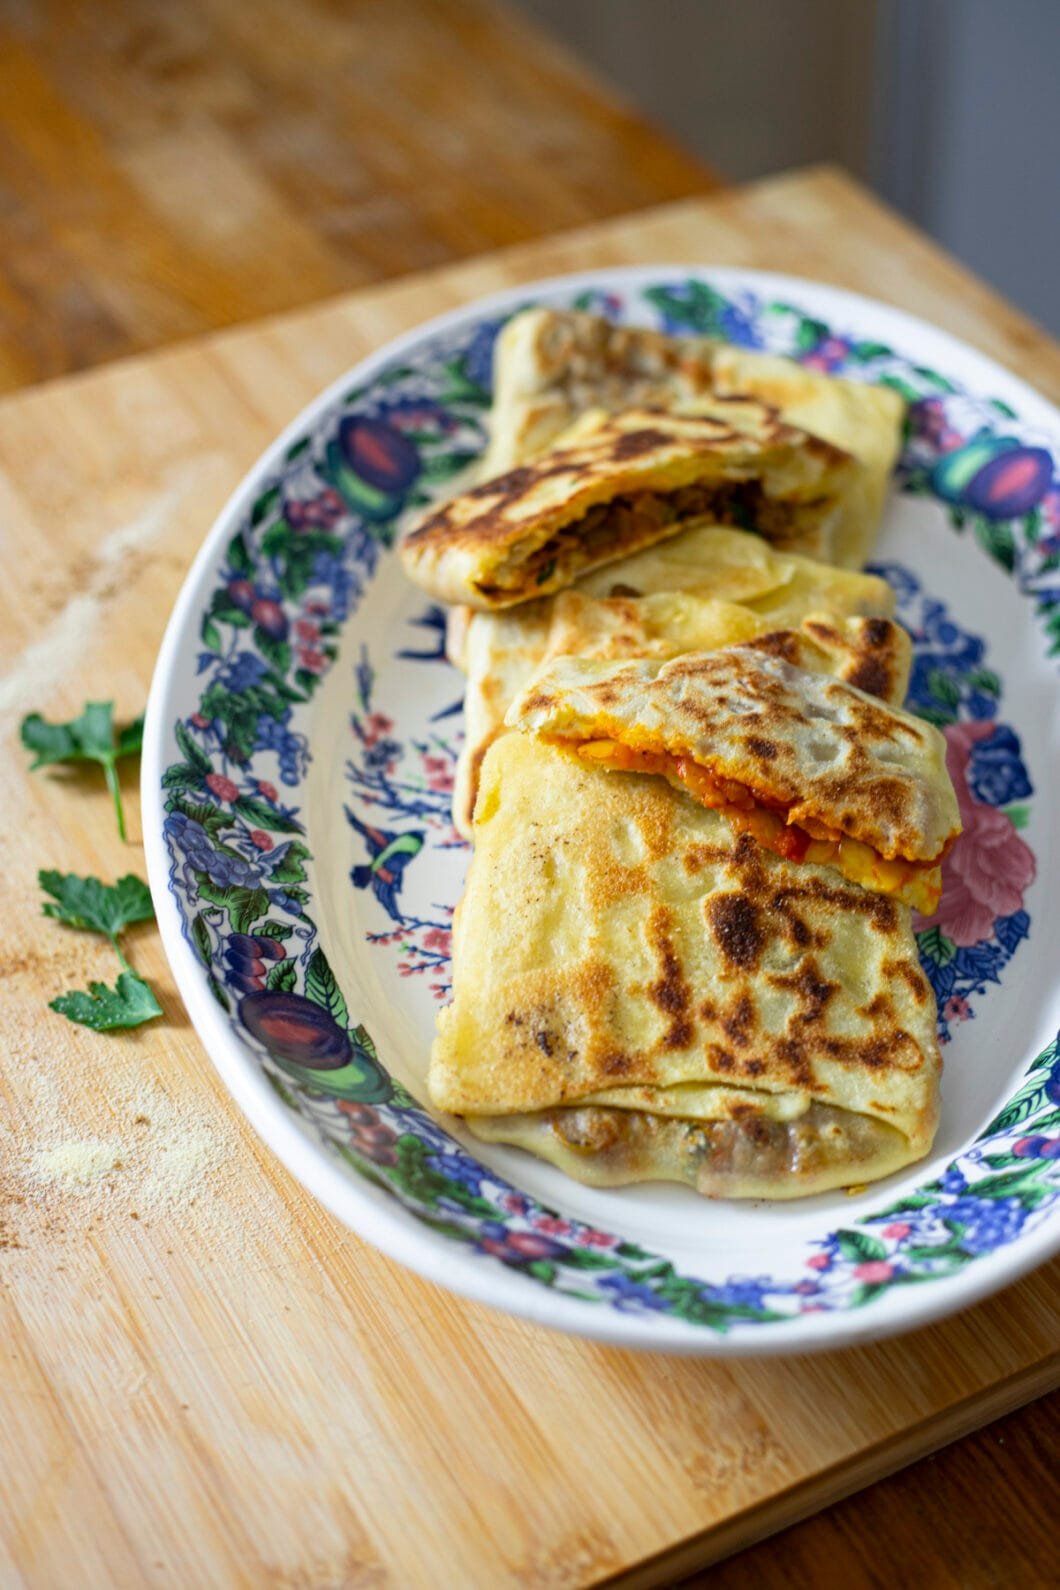
Well, I’d take Mhajebs -which are savoury, stuffed Msemen– over sweet Msemens any day.

I confess I don’t have a sweet tooth, but there’s more to it : a hidden treasure lies in this simple stuffed bread recipe.

Even though I should have known what to expect, having bought them from street vendors during my childhood, I was still amazed by how a little ball of dough, with a rather simple stuffing -no cheese, no quick cheats- could turn how so tasty. And I mean can’t-stop-eating tasty ; both my companion and I had to refrain from eating them all in one sitting.

Usually, you’d find two Mhajeb versions, be it from street vendors or in North African households :

  • a Kefta Mhajeb version, with minced meat (beef and/or lamb), onions, a few spices and bell pepper. I chose to add olives instead, because olives + spicy minced meat = Happiness ;
  • a Tomato & onion Mhajeb version, containing just this : tomato and onion. You can customize it with a few spices and/or harissa, which I did, but none too many ; we want the tomato and onion to shine. As with most of the greatest recipes, the simpler, the better.

Don’t underestimate the sheer power of the tomato & onion Mhajeb. I think our veggie friends will be impressed. Besides, it’s probably the most popular Mhajeb version, from what I saw on street markets and in Arabic bakeries. It’s impressive how it rivals the more elaborate Kefta Mhajeb : I honestly cannot tell which version I prefer.

Mhajeb (Savoury Msemen) – Recipe

Ingredients – Advice & key points

  • Check out my initial Honey Msemen recipe for all needed instructions on the dough, which are instrumental in the success of your Mhajebs.
  • The folding process for the dough is almost the same as in the recipe linked above, except that, after folding down your Msemen for the first time, you will add a rectangle of filling right in the center of your dough.
    • Don’t overdo it, or you won’t be able to close it ; a little goes a long way ;
    • Carefully bring up your bottom Msemen part, and seal the top of the rectangle as properly as possible.
    • Then proceed as you would for a plain Msemen !
  • Unlike Honey Msemen, those have a filling : whereas you can afford to have some holes in your plain Msemens, you cannot have any holes here, at least not on the central part, where your filling is.

Cooking & Serving your Mhajebs

  • Msemen are quite quick to cook ; use a hot pan -ideally heavy, but a nonstick one works great, too- and pan-fry ~2 minutes per side !
  • Mhajebs pair really well with a simple salad made out of thinly cubed cucumber, tomatoes and onion, seasoned with olive oil and a large squeeze of lemon.
  • As for the leftovers policy :
    • Those Msemen, once cooked, will keep just fine in the refrigerator for up to 3 to 4 days. Then simply reheat them again in a hot pan, ~2 minutes per side.
    • If planning to eat them at a later date, keep your leftovers into your freezer (in a plastic bag, in a Tupperware...) To reheat it, simply let it thaw or reheat straight into your skillet.

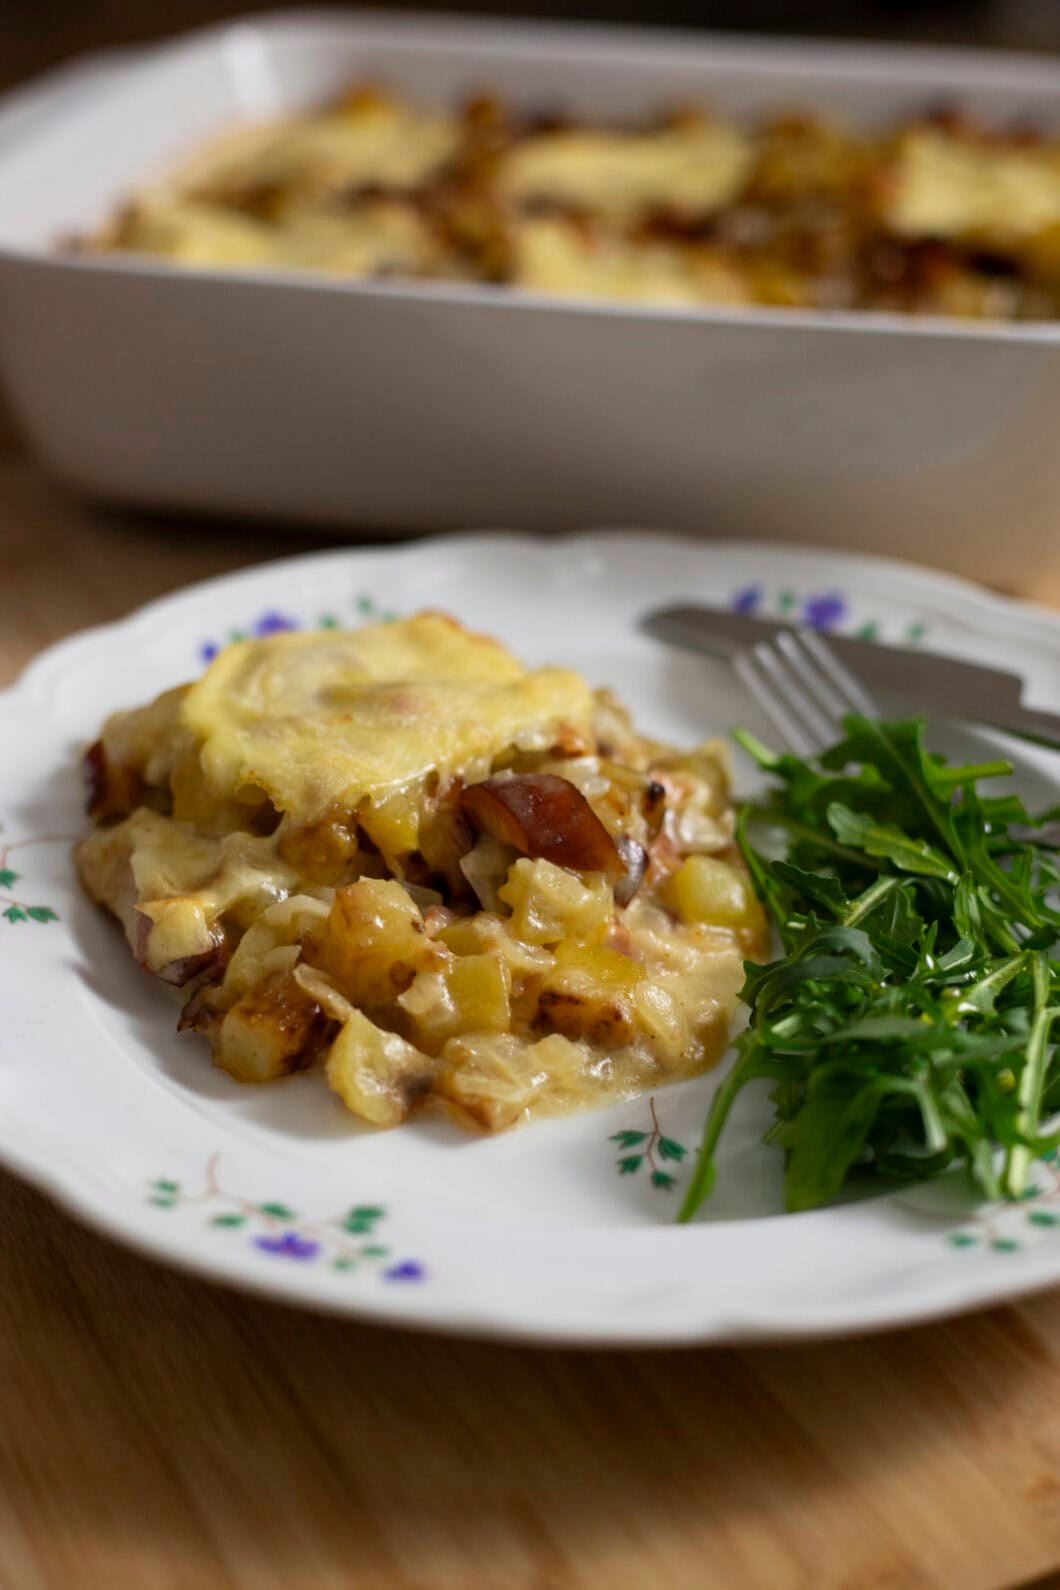
Traditional French Tartiflette

Around 10 years ago I made, with a whole team of 4-5 people, a Gigantic Tartiflette.

This crazy backstory is not even made up ; here is a picture of me standing in front of our masterpiece :

I was a member of the Cooking section from one the Arts Bureau campaigning teams. We did not succeed in the end, but the Tartiflette was a massive success. There wasn’t enough of it in the end, as most people went for seconds !

It is a very cherished and proud memory of mine. We spent all the previous night cooking, after a party we were to attend ; we started at midnight, and ended around 8a.m. We had to make do with a tiny kitchen, the lack of sleep, and the irritation of some as we kept cutting potatoes deep in the night.

It was a highly instructive experience way beyond the Tartiflette recipe ; I loved how we managed to handle the hurdle as a team, and how we all pushed through your own fatigue to make it happen. I loved how dear volunteers outside the Cooking team, that had been working late too, came early in the morning to help with the logistics of assembling and transporting the whole thing. It shows character. I love that my companion was one of them.

What made this Giant dish possible was that, like most of the dishes I love, it is made with lots of love and very little money. Even the process couldn’t be simpler :

  • Pan-fry your bacon, onions & potatoes : this is your potato mix ;
  • In a baking dish, layer your potato mix, then reblochon, then potato mix, then reblochon  ;
  • Bake ; within 20 minutes, you’re done !

This is not the healthiest of dishes, I confess, but it will brighten your family’s day, especially on a cold winter one !

We usually serve Tartiflette as is or with a simple side of salad.

Traditional French Tartiflette – Recipe

Recipe – Advice & key points

  • I recommend buying bacon that is not too lean ; in France, it’s called “lardons”.
    • If it’s lean and does not render fat, simply add oil before cooking your onions & potatoes.   
  • If you’re making a large amount, like this one, you’ll need to cook your potatoes in two batches if you want them to brown over.
    • If you don’t have two large pans, either take the time to do it (~50mn), or simply boil your diced potatoes in salted water 15mn.
  • If you don’t want to add white wine, simply skip it !
  • Don’t reheat leftovers with a microwave oven ; use your oven at 180°C (around 15-20 minutes, depending on the amount).

All set ? Let’s cook !

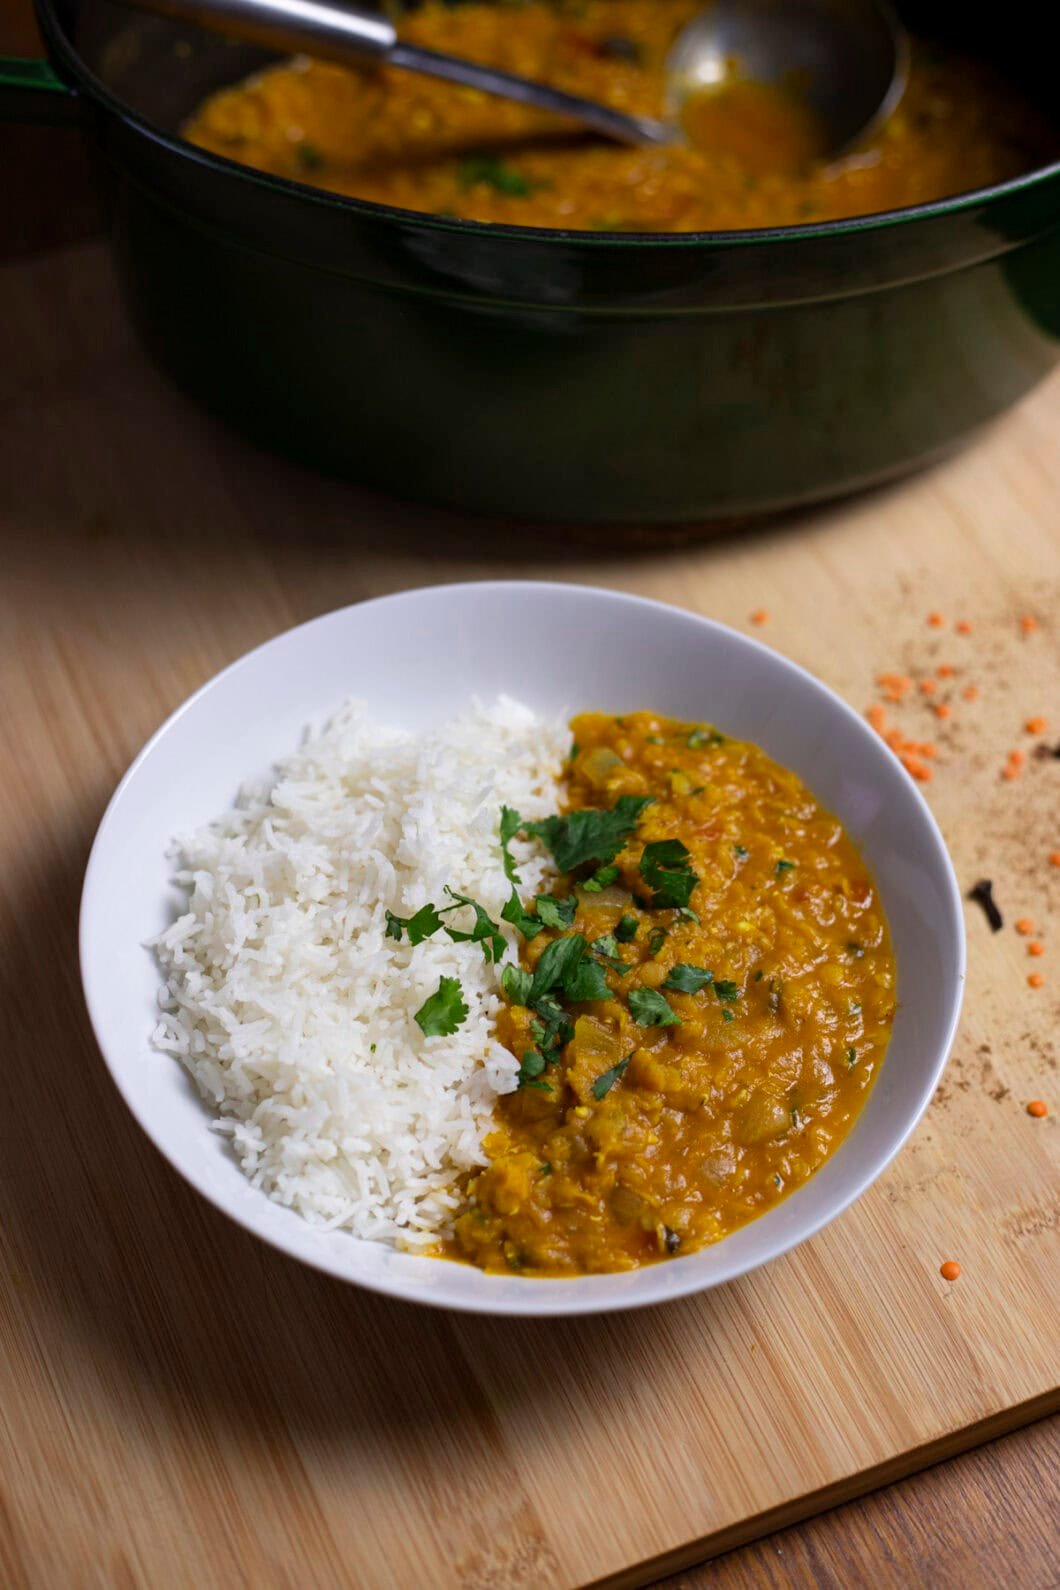
Red Lentil Curry (Masoor Dal)

Lentils were a staple in my mothers’ cooking. I remember dearly her green lentil stew, an unassuming green blob, with a suprising taste intensity thanks to a precise use of spices.

When I was a student, cheap and homey recipes like this one were golden. I felt like making my own lentil stew though, and stumbled upon a simple, Westernized red lentil curry recipe, where I basically mixed together red lentils, onion, tomato, coconut milk and turmeric. I thought it was pretty tasty back then !

That was before trying my hand at authentic Indian recipes. Simply get the spice mix right, and throw away that coconut milk can ; you’ll thank me later. It may take a teeny bit more effort than happily throwing random spices in your pot, but it’s all worth it.

I love this kind of recipe – the Dutch oven kind ; the steps are so simple, and quite quick here compared to classic meat-based recipes :

  • Cut some onion, garlic, ginger and chili if using ;
  • Cook your onions ;
  • Add the remaining spices and aromatics, then your lentils ; cover with water ;
  • 25 minutes later, add last minute aromatics and you’re done!

Beware ; this dish can be quite spicy if using both powdered chili and fresh chili. If you want it less spicy, remove the powdered chili -or both types of chilies altogether!

Red lentil curry (Masoor Dal) – Recipe

Ingredients – Where to find them

  • For Ghee, dry fenugreek leaves (Kasoori methi) and possibly curry leaves and garam masala, you should visit an Indian or Pakistani produce store.
  • If you cannot, it’s OK !
    • Replace Ghee with butter ;
    • Simply forgo the fenugreek & curry leaves and garam masala. You’ll still have a delectable end result !

Ingredients – Advice & key points

  • Don’t skimp on the salt !
    • Since no broth and no meat are used, you need to season your Dal properly so that it doesn’t taste bland.
    • Do a taste test towards the end and adjust accordingly !
  • Adjust the texture to your liking ! Some people like a liquid Dal better, others want it quite thick. This one is on the thicker side, but still quite liquidy. Keep in mind that your Dal will further thicken in your plate, when reaching room temperature.
  • Adaptability: Feel free to add some veggies to this recipe ! What I love to do is :
    • to thinly dice a carrot and add it with the onion ;
    • to dice up a bit of pumpkin, add a bit of salt, paprika and cumin, and pop it inthe oven for 40 minutes @180°C, right before I launch the Dal prep. Then top your Dal with those pumpkin dices !

Let’s get curried away!

Honey Msemen

This is one of the few dessert recipes you’ll find on my website, because it is special to me.

If you’re American, pancakes must have been a cherished item of your childhood. If you’re French, it’s the same with crêpes.

Msemen are your Arabic equivalent for crêpes. I remember having them at least once a year during the Ramadan period. You can eat the savoury version, but my family favoured the sweet version, served around one hour after dinner, with a generous pouring of mixed honey and butter.

Traditional mint tea is a mandatory accompaniement for this one. It all makes for an oriental medley of sensations : the crispy yet soft msmen, with all its layers of dough, all moist with the honey mixture ; the sugary tea with a slight bitterness from the mint : those are definite Madeleines de Proust for me.

Even if they were less frequently found at my childhood household, I also absolutely adore the salty versions of these Msemens -also called Mhajebs. Two fillings are traditional : the tomato-onion one, and the kefta one. Don’t underestimate the veggie version ! It’s probably one of the most widely found, and for good reason. I’ll soon post recipes for the both of them.

Honey Msemen – Recipe

Ingredients – Advice & key points

  • What makes or break your msmen if how long you knead it. It needs to go from a quite sticky dough to an elastic, supple and not sticky one.
    • Try to spend a good 15/20 minutes on this step !
    • If using a food processor in kneading mode, let it knead 10 minutes.
  • The other main requirement for a nice msmen is to let it rest at least 1 hour. The longer, the better ! Yes, this is not your typical weeknight recipe ; I recommend making them over the weekend.
  • Simple mistakes to avoid regarding your dough’s chemistry :
    • Don’t skip the sugar, as it helps in the baking powders’ raising process.
    • Also, remember to add lukewarm water to your dough (not warm, nor cold).

Cooking & Serving your Honey Msemen

  • Msemen are quite quick to cook ; use a hot pan -ideally heavy, but a nonstick one works great, too- and pan-fry ~2 minutes per side !
  • My mom always served those Msemen with a mix of honey and butter, quickly heated up in a small pot ; use the microwave oven if you prefer.
  • As for the leftovers policy :
    • If you made too much with honey already poured on top, it’s fine ! Simply reheat them in the microwave the next day, 30 seconds per msemen. It will be slightly less moist and less crunchy (the dough absorbs the honey mixture overnight), but still very nice.
    • For your plain msemens, the best policy is to put any leftover into your freezer. To reheat it, simply let it thaw or reheat straight into your skillet.

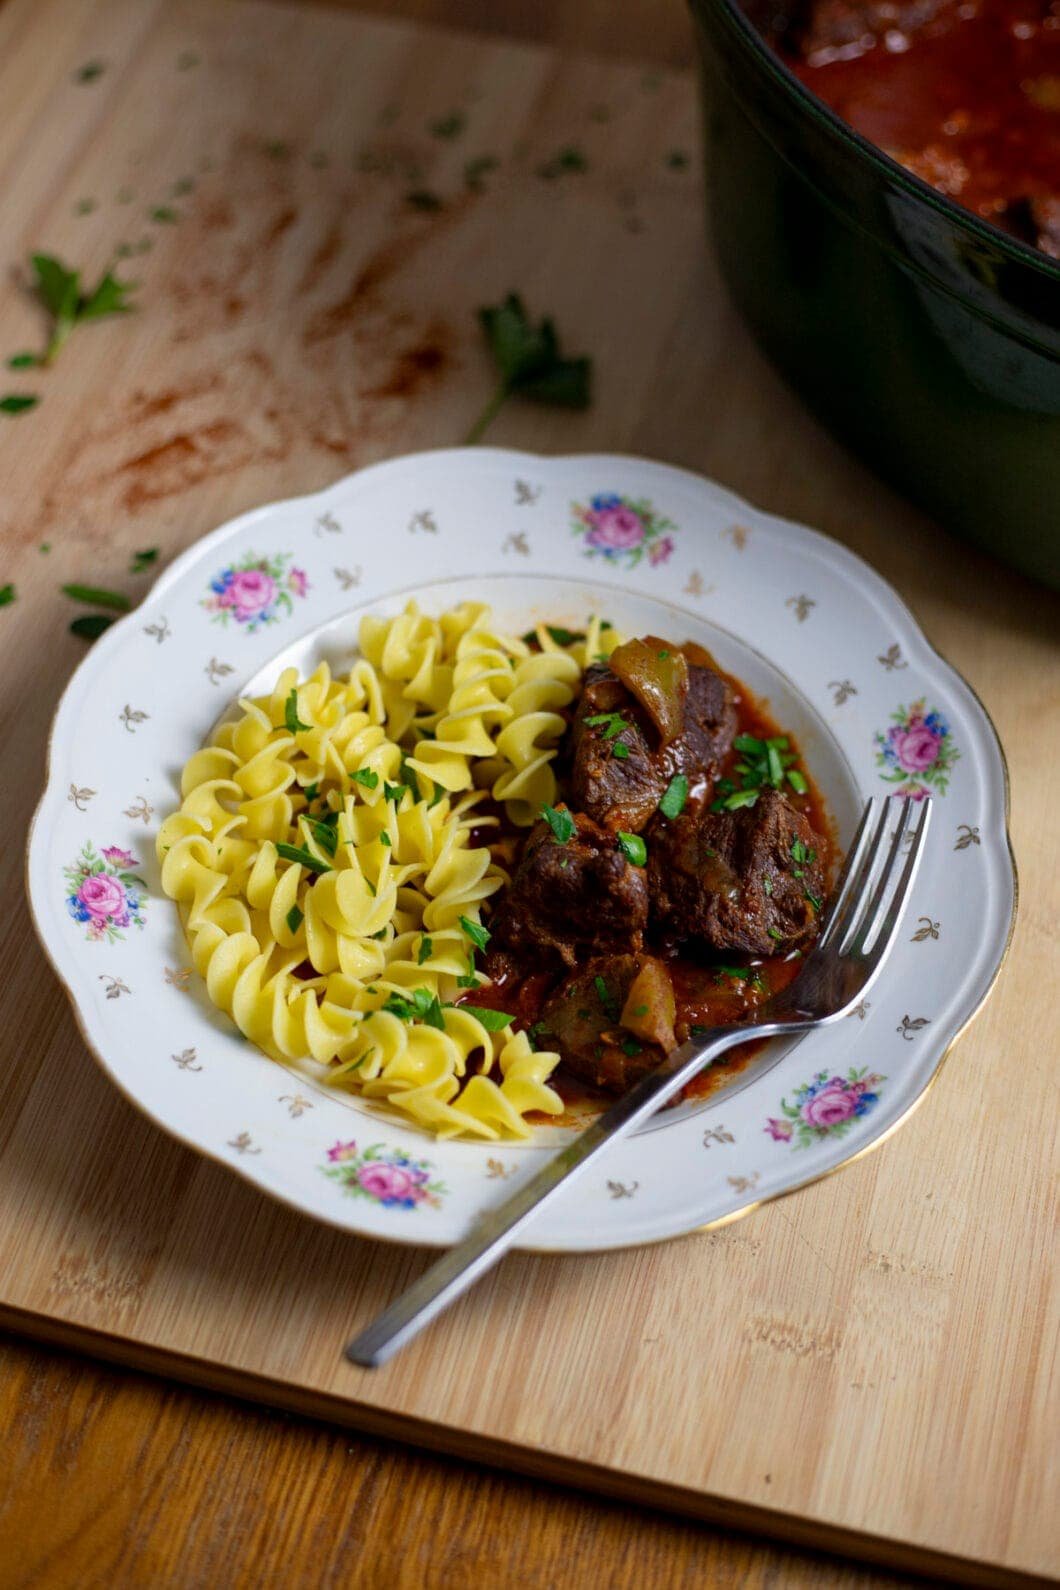
Traditional Hungarian Pörkölt

When I went to Montenegro two years ago, I had one clear objective in head : to eat a delicious Goulash, which I knew to be commonly eaten in most of Eastern Europe. I kept pestering my companion with it wherever we went.

Little did I know that Goulash, that I was picturing as a hearty stew, wasn’t Goulash, but Pörkölt. You might have been tricked, too ; Goulash -or more accurately, Gulyás- is a soup, whereas Pörkolt is a stew.  Both are paprika and meat-centered, making them quite close on the taste profile ; but the need for a hearty, warming and veggies-rich soup is not quite the same as the will for a thick, indulging meaty stew.

I ended up finding Goulash on the menu of one restaurant only during the two weeks we spent there. I thought that, while of definite Hungarian origin, the dish was quite popular here, too ; and I still assume it is, but quite probably within Montenegrins’ homes instead of the local restaurants’ menus.

Of course, I ordered it right away. The Goulash I was served was actually Pörkölt ; I guess they adapted the name to fit the customers’ expectations.

Whether the name was correct or not did not matter much after the first bite, as it was everything I longed for. This melt-in-your-mouth beef combined with a slightly runny, bold red sauce is sheer comfort. Much like Montenegrins themselves, the dish was not particularly delicate, but it was warm, honest and straight to the point.

Don’t be disheatened by the long cooking time ; as with most Sunday dishes, you essentially assemble everything, then let it cook for a few hours. The real active time for this recipe is no more than 1 hour.

I chose to serve this Traditional Hungarian Pörkölt with egg noodles ; traditionally, Nokedli or Spaetzle are used. You can also opt for boiled potatoes if you wish. Besides, feel free to add a tablespoon of sour cream on top of your Pörkölt plate !

Traditional Hungarian Pörkölt – Recipe

Ingredients – Advice & key points

  • Beef :
    • I loved beef cheek here. The cut is both lean and incredibly tender when cooked a few hours ; I cannot reccomend it enough.
    • You could also use a mix of beef chuck (on the fattier side) and Silverside/topside beef (on the leaner side), or any kind of stewing beef ; ask your butcher for a meat that will tenderize after a few hours of cooking on low temp. Ideally, you want to use some cuts that are collagen-rich. Gentle, long cooking transforms collagen fibers into melting gelatin ; this is how you get a pull-apart meat after a few hours.
  • Paprika :
    • I highly recommend using quality Hungarian paprika here. I found mine online on Amazon.
    • I used a mix of mild Hungarian paprika (3 tbsp) and hot Hungarian paprika (1 tbsp), as I enjoy a small spicy kick.
    • Feel free to use mild Hungarian paprika only !
  • Beef stock : I use store-bought here, since the large amount of meat already brings in lots of flavour. Feel free to use homemade if you can !
  • Do not compromise on the cooking time ! Your stew won’t be tasty if you don’t cook it for a minimum of 2,5 hours, ideally 3.

Let’s stew!

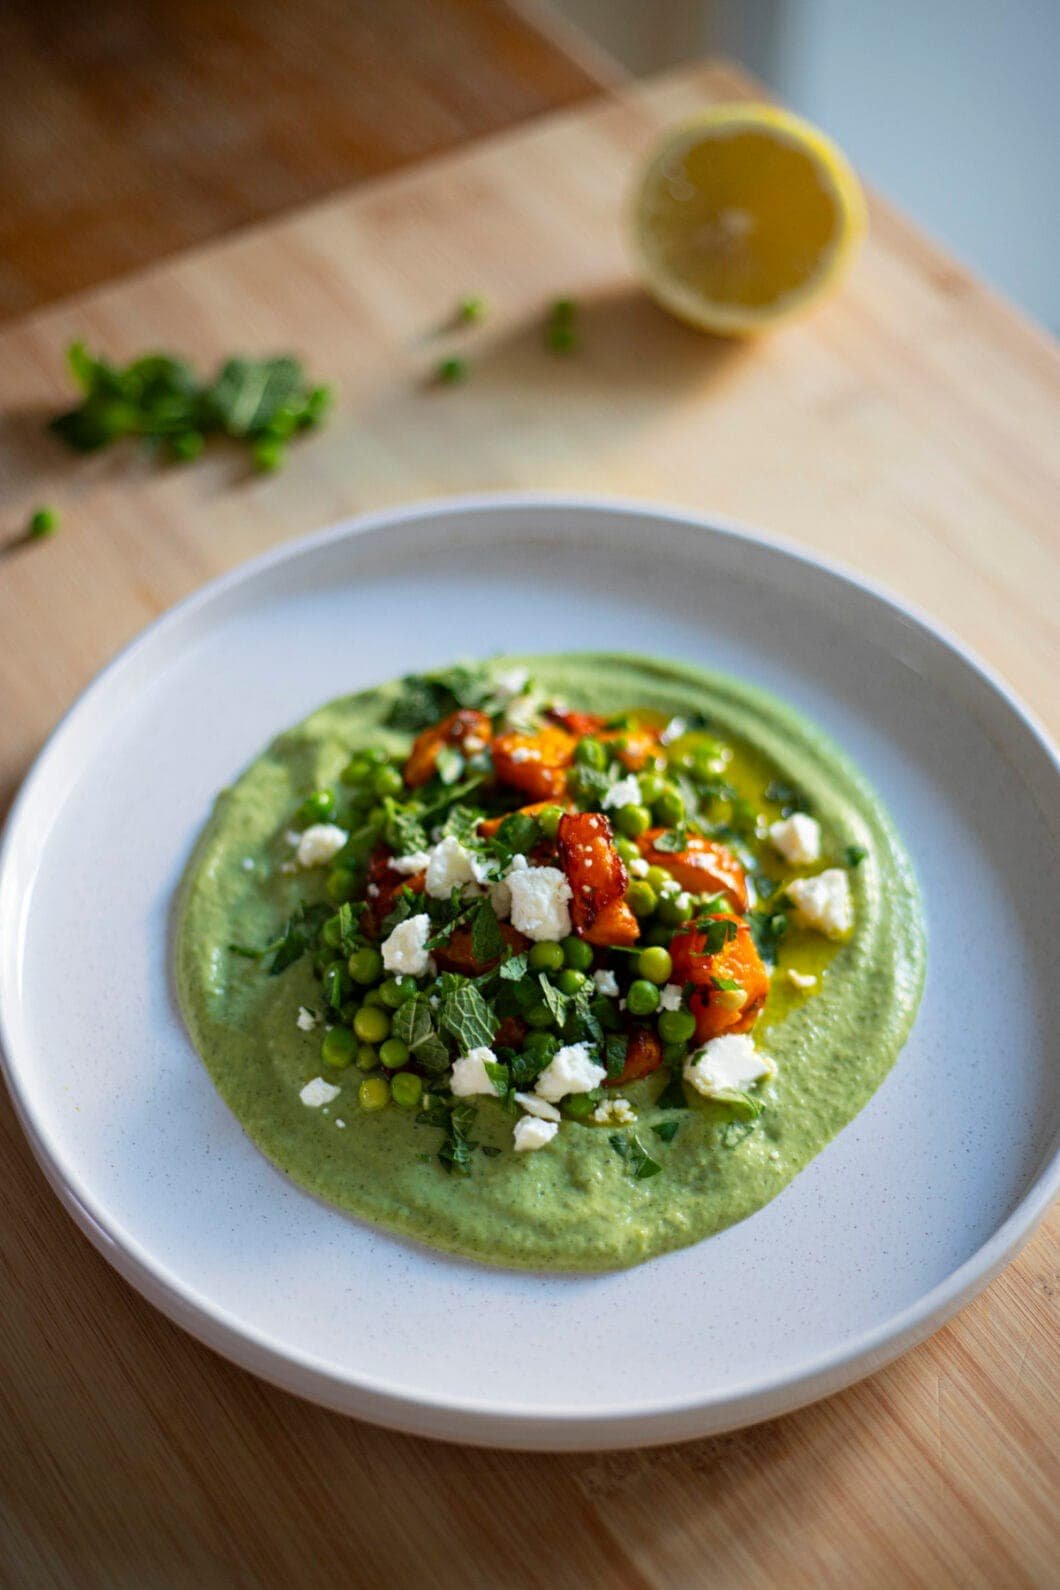
Peas, squash & feta salad

After a heavy end of week involving lots of fried food, I felt like eating something green. Like, litterally green -my mind was plagued with thoughts of beautiful, bright green veggies.

You know me though ; I ain’t eating flavourless, sad food ! I wanted it fresh, yet nice and saucy. I was feeling inspired this day, and the recipe idea came up to me within minutes.  There must have been an additional influence from binge-watching the Bear series, with its gastronomic universe, because the whole design was maybe unusually fancy.  

I love a fresh peas and feta salad, which I think pair together very well. I added some seasonal squash to bulk it up, and a zingy lemony dressing with herbs to make it pop.

The dish wouldn’t be complete without a bed of broccoli cream, which add a highly satisfying saucy feel. It turned what would have been a nice salad into a joyful, harmonious ensemble that you would be glad to serve some gourmets guests. 

If you want a break from heavy, cheesy dishes, give this one a try ! 

Peas, squash & feta salad – Recipe

Ingredients – Where to find them

No produce here is hard to come by.

Ingredients – Advice & key points

Not much to say here ; it’s a straight-forward salad!

  • This salad might seem deceptively long ; actually, by the time the squash is cooked -so within 40 minutes- you’ll have prepped all your remaining items !
  • Since it’s not pea season, I used frozen ones, which are just as tasty as fresh ones. 
  • You can have fun here, and swap, add or remove several items :
    • Replace squash with courgette, or sweet potato ;
    • Replace lemon with the vinegar of your liking ;
    • Add shallots or green onions if you wish ! 

All set ? Let’s make this Peas, squash & feta salad !

Note : The amounts listed are enough to make 4 servings as starters, or 2 to 3 as mains.

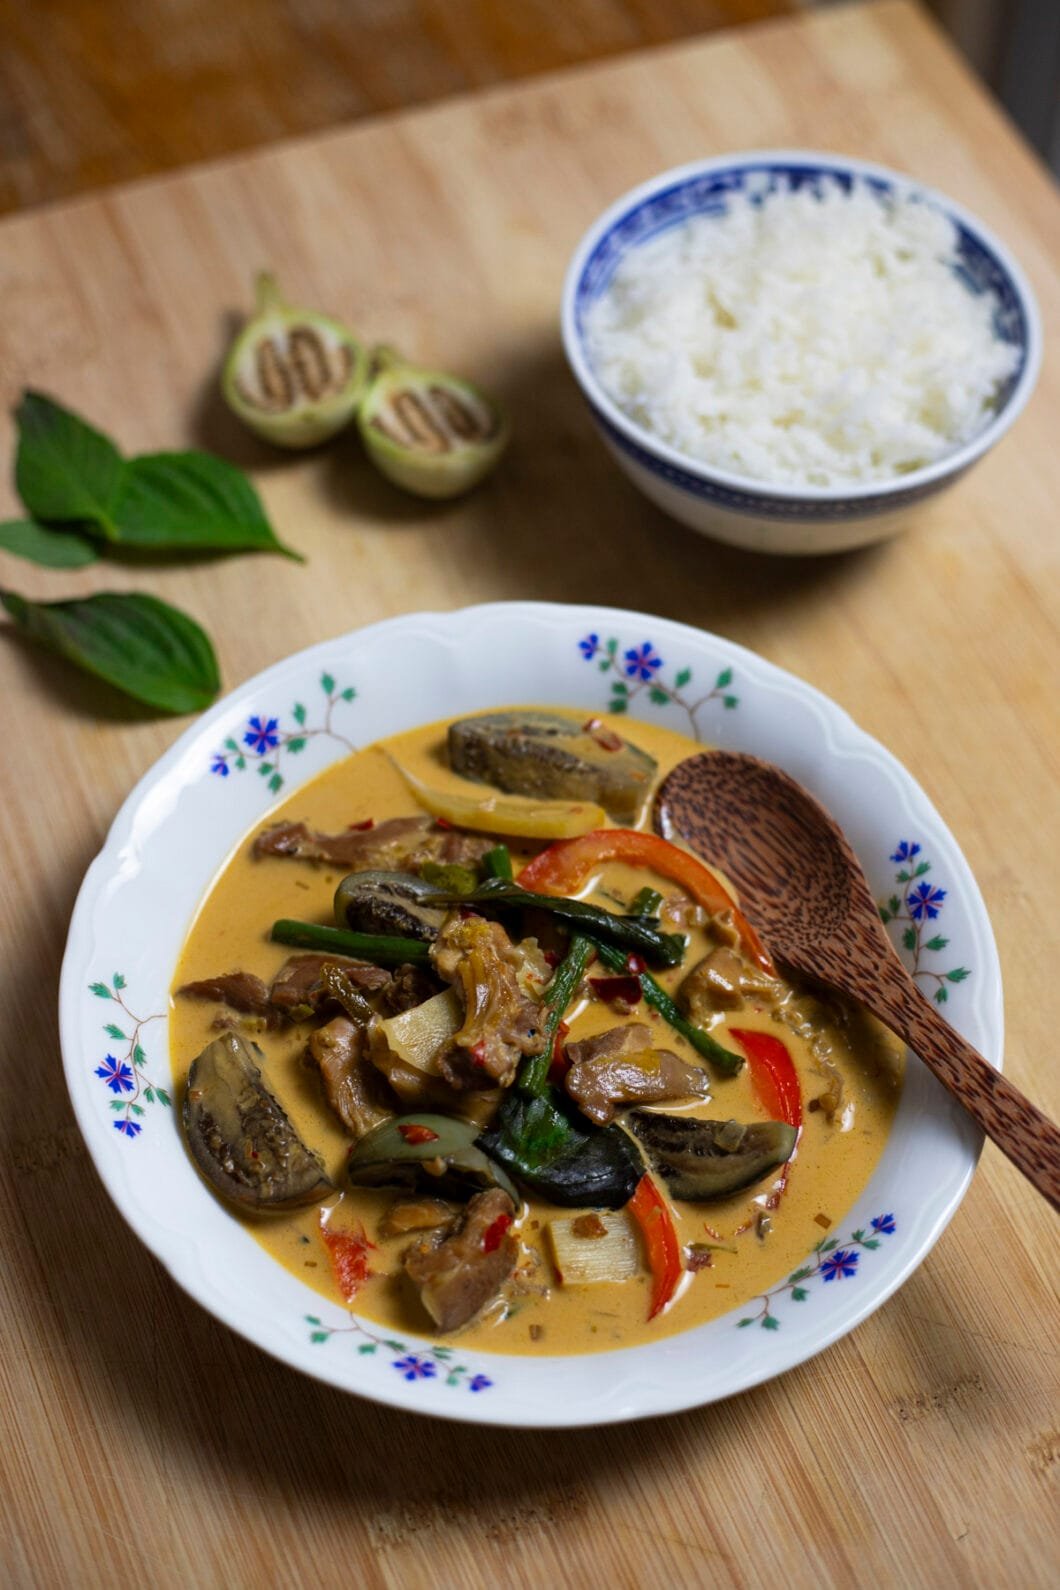
Authentic Thai Red Curry (with chicken)

There was this unassuming place close to where I lived two years ago in Paris, near Gare du Nord ; we went there because it was litterally 10 meters away from home, without expecting much.

We both ordered curries, the red kind for me, and the green one for my companion. What a surprise it was ! The usual timid flavour was replaced by a true festival of tastes. I often found my Thaï curries too sweet and too mild ; this one was neither. The sugar perfectly balanced the heat (for once, there was some !), and the fragrant lemongrass and kombava could actually be distinguished.

Thaï curries are complex, thanks to the red curry paste, with flavourful red peppers, sweet shallots, lots of garlic and lemony flavours ; the fish sauce adds a depth of flavour, and the sugar is essential to round out the flavours along with the coconut milk.

If you’re a curry lover, don’t miss out on this ! I’d say this version is fresher and more aromatic than your Indian or Japanese curries, as it relies on fresh ingredients rather than spices to build its flavor profile.

Beware ; this dish can be quite spicy, depending on your curry paste and how much you’re using. If you want it less spicy, do adapt your curry paste if homemade by using less small, spicy chilies, and more large, non spicy chilies. If using store-bought red curry paste, make it milder by adding less curry paste.

Authentic Thai Red Curry (with chicken) – Recipe

Ingredients – Advice & key points

  • Red curry paste :
    • I recommend making your own curry paste if possible. If so, I don’t recommend making it on a weeknight ; make your curry paste over the week-end, for example, then you’ll have plenty to store in your freezer for anytime you feel like curry-ing.
    • If using store-bought, it’s perfectly good too ! My two top picks would be the Maeploy and Namjai curry pastes. The Aroy-D brand is also great, plus it is vegan !
  • You can find red curry paste, kaffir lime leaves (frozen), bamboo shoots (canned), fish sauce and fresh Thai basil at most Asian stores.
  • Don’t let the curry boil once you’ve added all the coconut milk, or it might split ! It should only simmer.
  • Adaptability: This recipe is fully adaptable. 
    • You can use a different veggies, different proteins or no protein at all ; simply adapt the cooking times, especially for veggies, and taste regularly to make sure they don’t get mushy or tough veggies. So if you cannot find Thai eggplants, it doesn’t matter ! Skip it or replace it with Japanese/Chinese eggplant, or courgette, for example.
    • In autumn/winter, a great vegetable option would be to use diced squash ; you can use this veggie only for a low-effort dish, with around 200-250grams for a 4-servings amount.

Let’s get curried away!

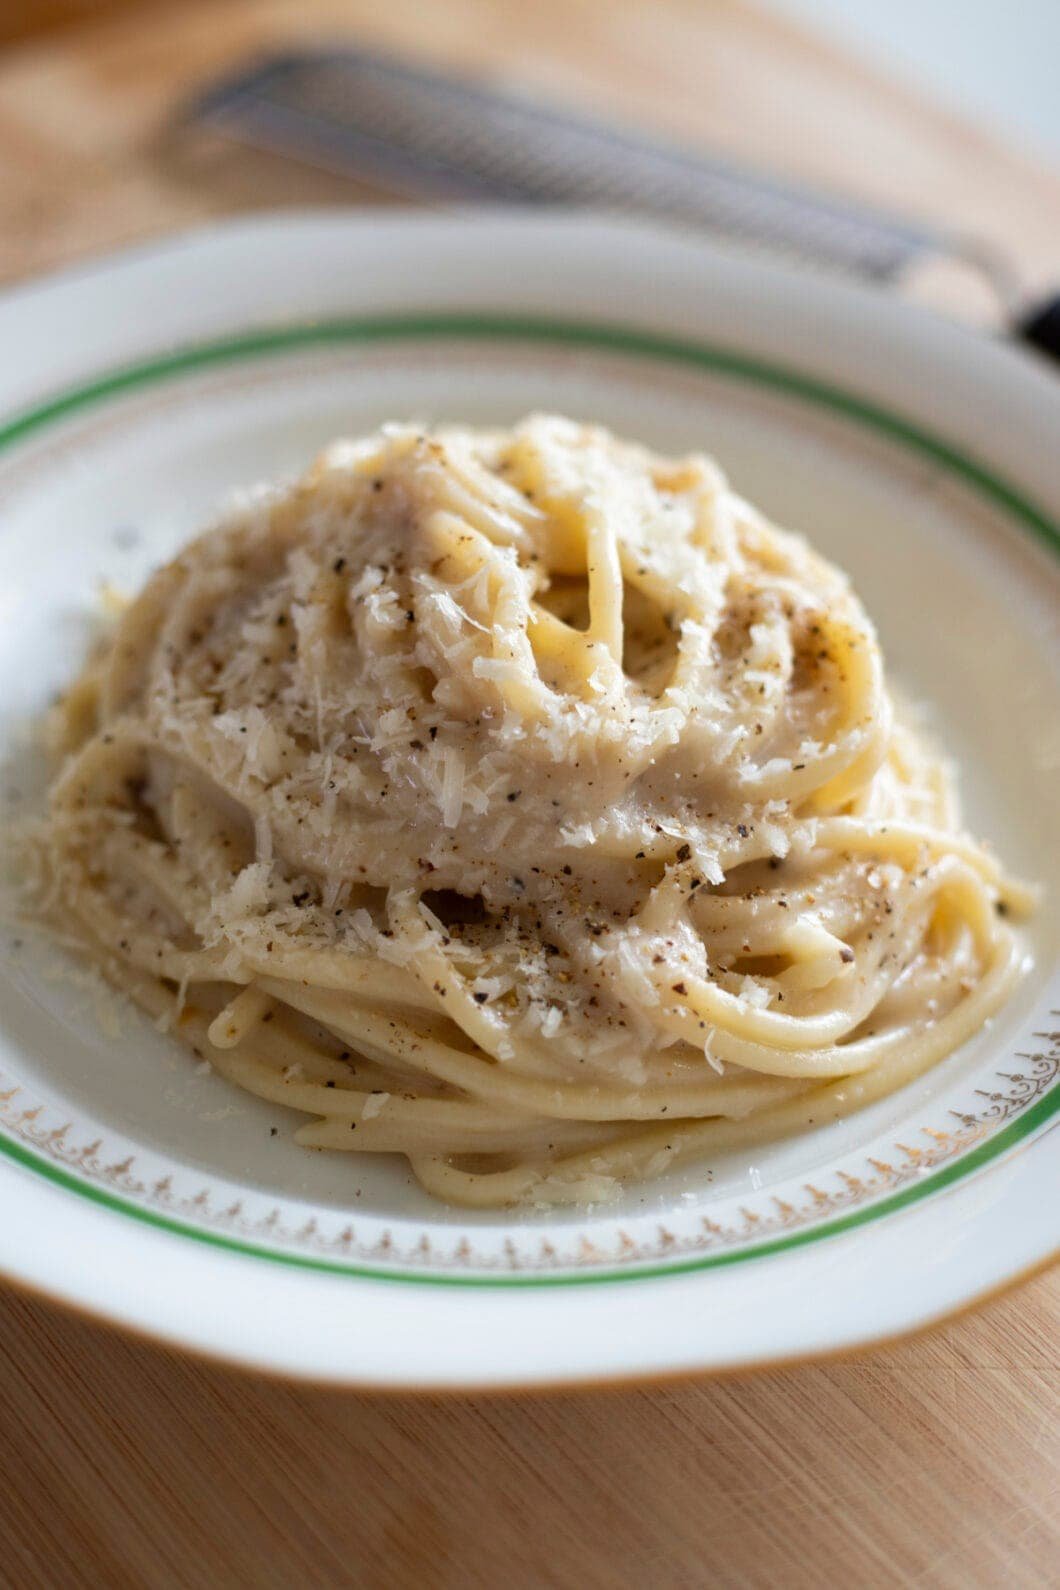
Authentic Cacio e Pepe

Much like traditional Carbonara pasta, this recipe is an ode to simplicity.

Three ingredients, no more ; that’s all it takes to create something bigger and better than most pasta you’ll eat in your lifetime.

I first had this pasta in Rome, and I hadn’t realized yet the sheer power of Pecorino. That’s where most of the flavour comes from ; all it needs to shine even brighter is some decent black pepper, and properly cooked, quality pasta.

The recipe is exceedingly simple, but demanding at the same time. Be patient ; take the time to grind your black pepper, to grate your Pecorino ; at the very end of the cooking process, do add it little by little, and cautiously eyeball the pasta water level, so that it’s never too much, nor too little.

There’s no one size fits all here, since the amount of water will depend on the Pecorino your use, your pan temperature, the pasta type you use, and so on ; you need to learn this on your own by trial and error. Not to worry though ; there’s no way to completely mess this dish up. Worst case scenario, you’ll end up with an overly thick, slightly lumpy sauce. No biggie.

I truly cannot recommend this dish enough. In terms of effort-to-pleasure ratio, it’s even more glorious than carbonara pasta. All it takes is 20 minutes to eat pasta that will put most westernized Italian restaurants to shame.

Authentic Cacio e Pepe Recipe

The authentic Cacio e Pepe (litterally “cheese and pepper”) consists in pasta -traditionally tonnarelli or spaghetti, sometimes pici- that you drench in a sauce only made of water and Pecorino romano. Some freshly grounded black pepper lift the dish up just right.

Ingredients – Advice & key points

I usually go to Eataly to get the produce I need. If you don’t have one near your location, you can find fresh produce like guanciale and pecorino at your local Italian deli, maybe even your pasta. For pasta, if not available there, you should be able to order it online quite easily.

  • Pasta :
    • While I believe tonnarelli is the best choice for this recipe, and was usually used in restaurants in Rome when I visited, spaghetti is also ideal.
    • What you must not compromise on is using Bronze Drawn pasta. Why so ? Because when processed this way, the pasta will present small irregularities that will enable the sauce to cling to it.
    • You could use fresh pasta if so inclined ; in this case, I’ll 100% recommend making pici, which are a perfect fit for this recipe.
  • Cheese(s) :
    • Very important : Use some aged cheese ! If below the 8 month range, the Pecorino might be overly moist and won’t melt properly.
    • You can stick to Pecorino Romano only, which is the most traditional way. If your Pecorino type is strong, you might use a 70/30 blend with Parmigiano, which will tone down the strong Pecorino flavour. It depends on your Pecorino type ; if it is quite aged, in the 24-36 months range, you might benefit from adding a bit of Parmigiano.
    • Careful ; only add your cheese when your fire is turned off ! Else, your sauce will turn lumpy.
  • Pepper :
    • It is important to use freshly ground black pepper.
    • I personnally use this blend from Roellinger, but you can really use any, except highly fragrant, exotic ones.
    • If you don’t own a mortar and pestle, simply use the bottom of a small pot.

Recipe – What to pay attention to

  • Pasta :
    • Don’t oversalt ! While 10g of salt/liter is usually recommended, here, with the salt from the cheese, you can easily halve this amount.
    • We’ll cook the pasta half of the packet cooking time in water, then in the pan with the peppery water. It is important that you taste several times starting 2 minutes before the theoretical end time, so that you get perfect al dente pasta.
  • Black pepper :
    • You want to toast it once ground, but don’t let it burn or it’ll taste bitter. Once fragrant, it’s already enough.
  • Pecorino :
    • It is very important to thinly grate your Pecorino to that it melts properly. Look at my carbonara picture ; this is the thickest you can get. You can use a microplane or a lime zester, but if you have a kitchen robot with a really thin setting, it will also work just fine and save you the trouble.
    • Do not use pre-grated cheese ! Additives are added to these cheeses so that they don’t clump together, which will prevent it from integrating properly in your sauce.
  • Adding your sauce : Remove your pan from heat at least 20 seconds before adding your sauce, otherwise the eggs might overcook. Then incorporate your sauce progressively.
  • Plating : I highly recommend heating your plates in the oven for 10 minutes at 80°C before plating. This will prevent the sauce from getting cold too quickly and become unappealingly “set”.

Now you’re fully ready to cook a magnificent pasta dish. Off to your kitchen !

If you’re interested in more authentic italian recipes, you can also check my Ragu alla Bolognese recipe.