Fresh fish is what you usually crave in summer : be it Ceviches, Poke Bowls or Crudos, they mostly contain summery fruit and vegetables that you sourly miss come winter.
Even when it’s cold outside though, there’s a point where you cannot eat soups, stews and cheese-based dishes anymore. I needed to figure out a way to eat seasonal, yet to get a pleasant plate of fresh fish.
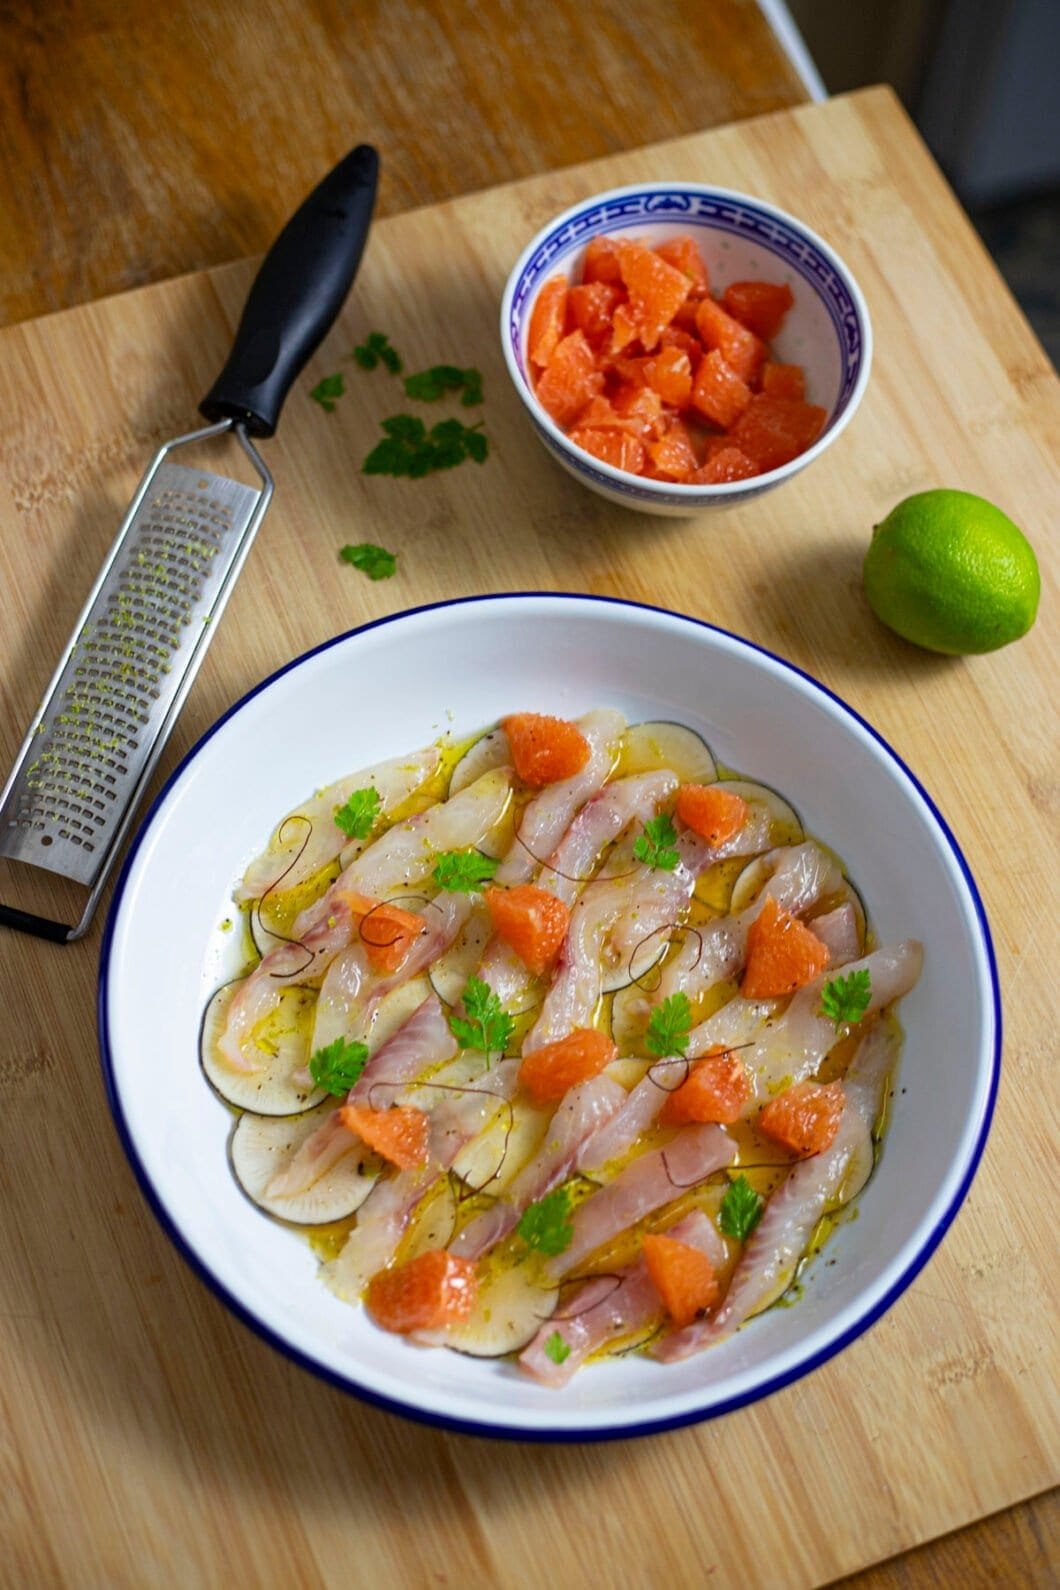
This is how I crafted this Winter Crudo, with wintery citruses and radishes. It couldn’t be simpler !
- you make a quick sauce using mostly the juice a few citruses ;
- you cut up some fish, radishes and pomelos ;
- and there you go !
If you like it sour, you’ll enjoy this recipe tremendously. The olive oil softens the blow from the citruses and the bitter radishes, though. The whole thing is pleasantly fresh, crunchy, with all the softness of raw fish.
Winter Crudo – Recipe
Ingredients – Pieces of advice
- Regarding fish, you can choose any of your fishmongers’ freshest, white-fleshed fish. Try to pick one that has delicate flesh since you don’t leave the sauce too long on your fish. Common choices are sea bream, sea bass, fluke or halibut.
- When it comes to the potential bitterness, here are 2 tips to avoid getting an overly sour sauce :
- When squeezing your limes, don’t press all the way until the end ! If you press it until the final drops come out, the end result will be more sour.
- Salt is your friend here ! It is important to salt both your sauce and your fish properly, as it makes the acidity seem less sharp and more palatable.
- For the pepper, use what you have on hand !
- You can serve this recipe as a starter ; then simply multiply by 2 the portions it serves (a 2-persons serving would make a 4-persons serving).
Off to your kitchen now !