Post Type ArchivesRecipes

Traditional Hungarian Pörkölt

When I went to Montenegro two years ago, I had one clear objective in head : to eat a delicious Goulash, which I knew to be commonly eaten in most of Eastern Europe. I kept pestering my companion with it wherever we went.

Little did I know that Goulash, that I was picturing as a hearty stew, wasn’t Goulash, but Pörkölt. You might have been tricked, too ; Goulash -or more accurately, Gulyás- is a soup, whereas Pörkolt is a stew.  Both are paprika and meat-centered, making them quite close on the taste profile ; but the need for a hearty, warming and veggies-rich soup is not quite the same as the will for a thick, indulging meaty stew.

I ended up finding Goulash on the menu of one restaurant only during the two weeks we spent there. I thought that, while of definite Hungarian origin, the dish was quite popular here, too ; and I still assume it is, but quite probably within Montenegrins’ homes instead of the local restaurants’ menus.

Of course, I ordered it right away. The Goulash I was served was actually Pörkölt ; I guess they adapted the name to fit the customers’ expectations.

Whether the name was correct or not did not matter much after the first bite, as it was everything I longed for. This melt-in-your-mouth beef combined with a slightly runny, bold red sauce is sheer comfort. Much like Montenegrins themselves, the dish was not particularly delicate, but it was warm, honest and straight to the point.

Don’t be disheatened by the long cooking time ; as with most Sunday dishes, you essentially assemble everything, then let it cook for a few hours. The real active time for this recipe is no more than 1 hour.

I chose to serve this Traditional Hungarian Pörkölt with egg noodles ; traditionally, Nokedli or Spaetzle are used. You can also opt for boiled potatoes if you wish. Besides, feel free to add a tablespoon of sour cream on top of your Pörkölt plate !

Traditional Hungarian Pörkölt – Recipe

Ingredients – Advice & key points

  • Beef :
    • I loved beef cheek here. The cut is both lean and incredibly tender when cooked a few hours ; I cannot reccomend it enough.
    • You could also use a mix of beef chuck (on the fattier side) and Silverside/topside beef (on the leaner side), or any kind of stewing beef ; ask your butcher for a meat that will tenderize after a few hours of cooking on low temp. Ideally, you want to use some cuts that are collagen-rich. Gentle, long cooking transforms collagen fibers into melting gelatin ; this is how you get a pull-apart meat after a few hours.
  • Paprika :
    • I highly recommend using quality Hungarian paprika here. I found mine online on Amazon.
    • I used a mix of mild Hungarian paprika (3 tbsp) and hot Hungarian paprika (1 tbsp), as I enjoy a small spicy kick.
    • Feel free to use mild Hungarian paprika only !
  • Beef stock : I use store-bought here, since the large amount of meat already brings in lots of flavour. Feel free to use homemade if you can !
  • Do not compromise on the cooking time ! Your stew won’t be tasty if you don’t cook it for a minimum of 2,5 hours, ideally 3.

Let’s stew!

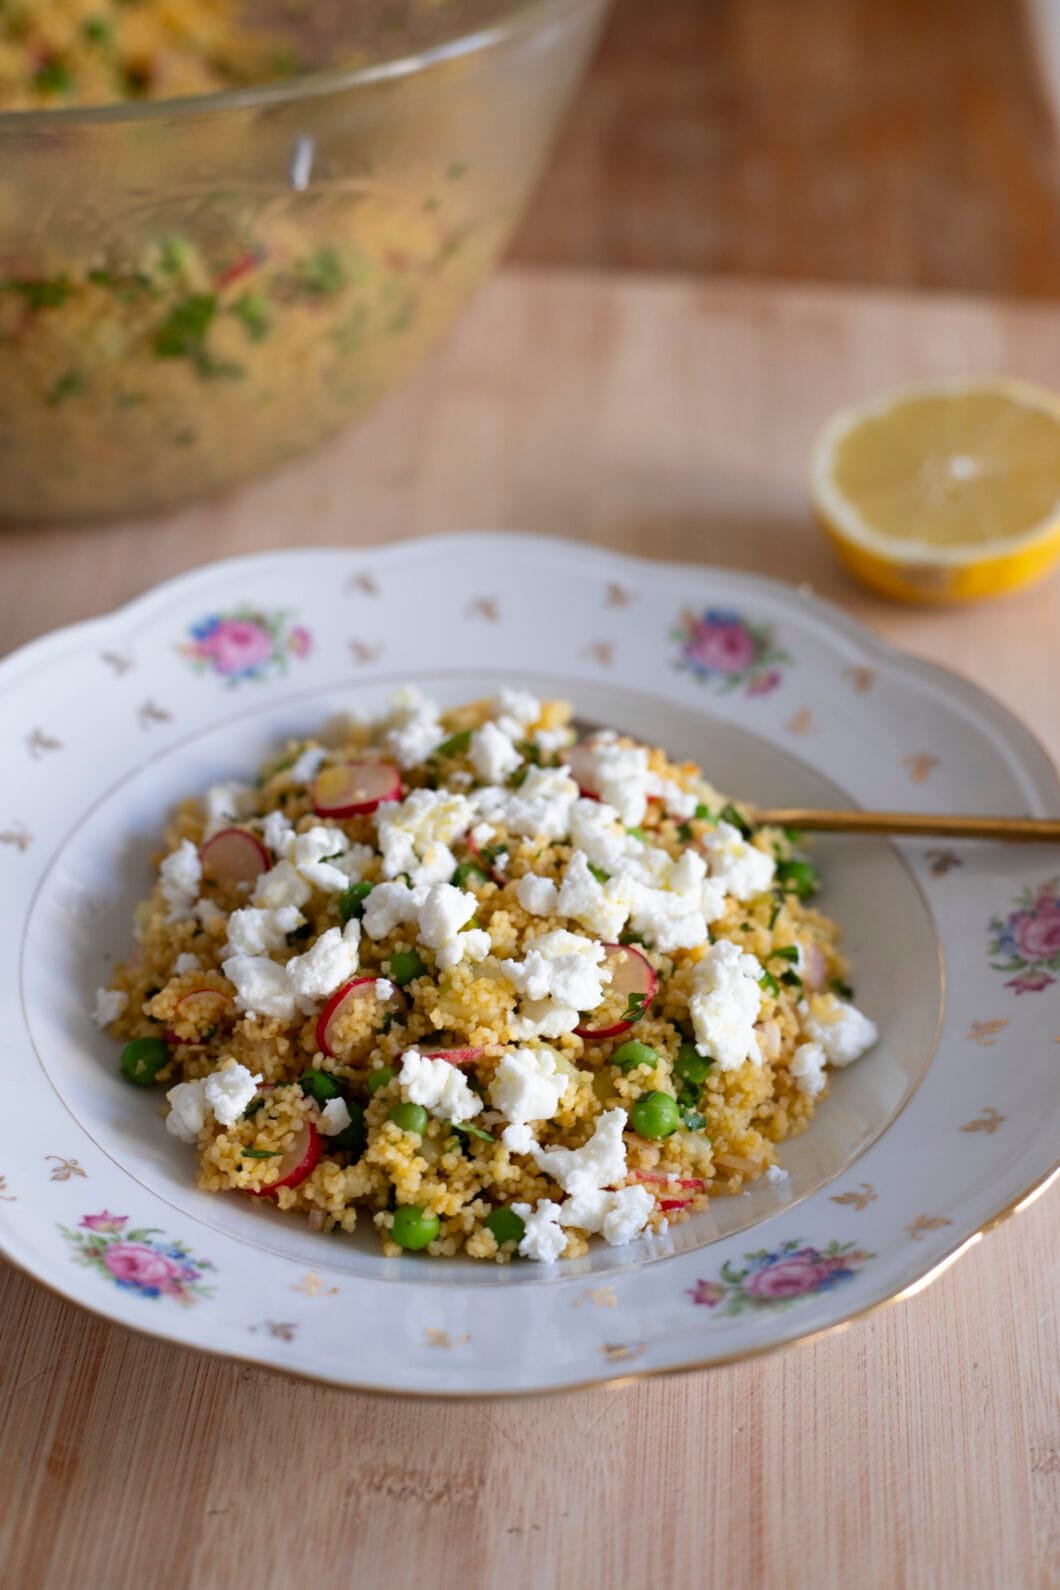
Peas, squash & feta salad

After a heavy end of week involving lots of fried food, I felt like eating something green. Like, litterally green -my mind was plagued with thoughts of beautiful, bright green veggies.

You know me though ; I ain’t eating flavourless, sad food ! I wanted it fresh, yet nice and saucy. I was feeling inspired this day, and the recipe idea came up to me within minutes.  There must have been an additional influence from binge-watching the Bear series, with its gastronomic universe, because the whole design was maybe unusually fancy.  

I love a fresh peas and feta salad, which I think pair together very well. I added some seasonal squash to bulk it up, and a zingy lemony dressing with herbs to make it pop.

The dish wouldn’t be complete without a bed of broccoli cream, which add a highly satisfying saucy feel. It turned what would have been a nice salad into a joyful, harmonious ensemble that you would be glad to serve some gourmets guests. 

If you want a break from heavy, cheesy dishes, give this one a try ! 

Peas, squash & feta salad – Recipe

Ingredients – Where to find them

No produce here is hard to come by.

Ingredients – Advice & key points

Not much to say here ; it’s a straight-forward salad!

  • This salad might seem deceptively long ; actually, by the time the squash is cooked -so within 40 minutes- you’ll have prepped all your remaining items !
  • Since it’s not pea season, I used frozen ones, which are just as tasty as fresh ones. 
  • You can have fun here, and swap, add or remove several items :
    • Replace squash with courgette, or sweet potato ;
    • Replace lemon with the vinegar of your liking ;
    • Add shallots or green onions if you wish ! 

All set ? Let’s make this Peas, squash & feta salad !

Note : The amounts listed are enough to make 4 servings as starters, or 2 to 3 as mains.

Authentic Thai Red Curry (with chicken)

There was this unassuming place close to where I lived two years ago in Paris, near Gare du Nord ; we went there because it was litterally 10 meters away from home, without expecting much.

We both ordered curries, the red kind for me, and the green one for my companion. What a surprise it was ! The usual timid flavour was replaced by a true festival of tastes. I often found my Thaï curries too sweet and too mild ; this one was neither. The sugar perfectly balanced the heat (for once, there was some !), and the fragrant lemongrass and kombava could actually be distinguished.

Thaï curries are complex, thanks to the red curry paste, with flavourful red peppers, sweet shallots, lots of garlic and lemony flavours ; the fish sauce adds a depth of flavour, and the sugar is essential to round out the flavours along with the coconut milk.

If you’re a curry lover, don’t miss out on this ! I’d say this version is fresher and more aromatic than your Indian or Japanese curries, as it relies on fresh ingredients rather than spices to build its flavor profile.

Beware ; this dish can be quite spicy, depending on your curry paste and how much you’re using. If you want it less spicy, do adapt your curry paste if homemade by using less small, spicy chilies, and more large, non spicy chilies. If using store-bought red curry paste, make it milder by adding less curry paste.

Authentic Thai Red Curry (with chicken) – Recipe

Ingredients – Advice & key points

  • Red curry paste :
    • I recommend making your own curry paste if possible. If so, I don’t recommend making it on a weeknight ; make your curry paste over the week-end, for example, then you’ll have plenty to store in your freezer for anytime you feel like curry-ing.
    • If using store-bought, it’s perfectly good too ! My two top picks would be the Maeploy and Namjai curry pastes. The Aroy-D brand is also great, plus it is vegan !
  • You can find red curry paste, kaffir lime leaves (frozen), bamboo shoots (canned), fish sauce and fresh Thai basil at most Asian stores.
  • Don’t let the curry boil once you’ve added all the coconut milk, or it might split ! It should only simmer.
  • Adaptability: This recipe is fully adaptable. 
    • You can use a different veggies, different proteins or no protein at all ; simply adapt the cooking times, especially for veggies, and taste regularly to make sure they don’t get mushy or tough veggies. So if you cannot find Thai eggplants, it doesn’t matter ! Skip it or replace it with Japanese/Chinese eggplant, or courgette, for example.
    • In autumn/winter, a great vegetable option would be to use diced squash ; you can use this veggie only for a low-effort dish, with around 200-250grams for a 4-servings amount.

Let’s get curried away!

Authentic Cacio e Pepe

Much like traditional Carbonara pasta, this recipe is an ode to simplicity.

Three ingredients, no more ; that’s all it takes to create something bigger and better than most pasta you’ll eat in your lifetime.

I first had this pasta in Rome, and I hadn’t realized yet the sheer power of Pecorino. That’s where most of the flavour comes from ; all it needs to shine even brighter is some decent black pepper, and properly cooked, quality pasta.

The recipe is exceedingly simple, but demanding at the same time. Be patient ; take the time to grind your black pepper, to grate your Pecorino ; at the very end of the cooking process, do add it little by little, and cautiously eyeball the pasta water level, so that it’s never too much, nor too little.

There’s no one size fits all here, since the amount of water will depend on the Pecorino your use, your pan temperature, the pasta type you use, and so on ; you need to learn this on your own by trial and error. Not to worry though ; there’s no way to completely mess this dish up. Worst case scenario, you’ll end up with an overly thick, slightly lumpy sauce. No biggie.

I truly cannot recommend this dish enough. In terms of effort-to-pleasure ratio, it’s even more glorious than carbonara pasta. All it takes is 20 minutes to eat pasta that will put most westernized Italian restaurants to shame.

Authentic Cacio e Pepe Recipe

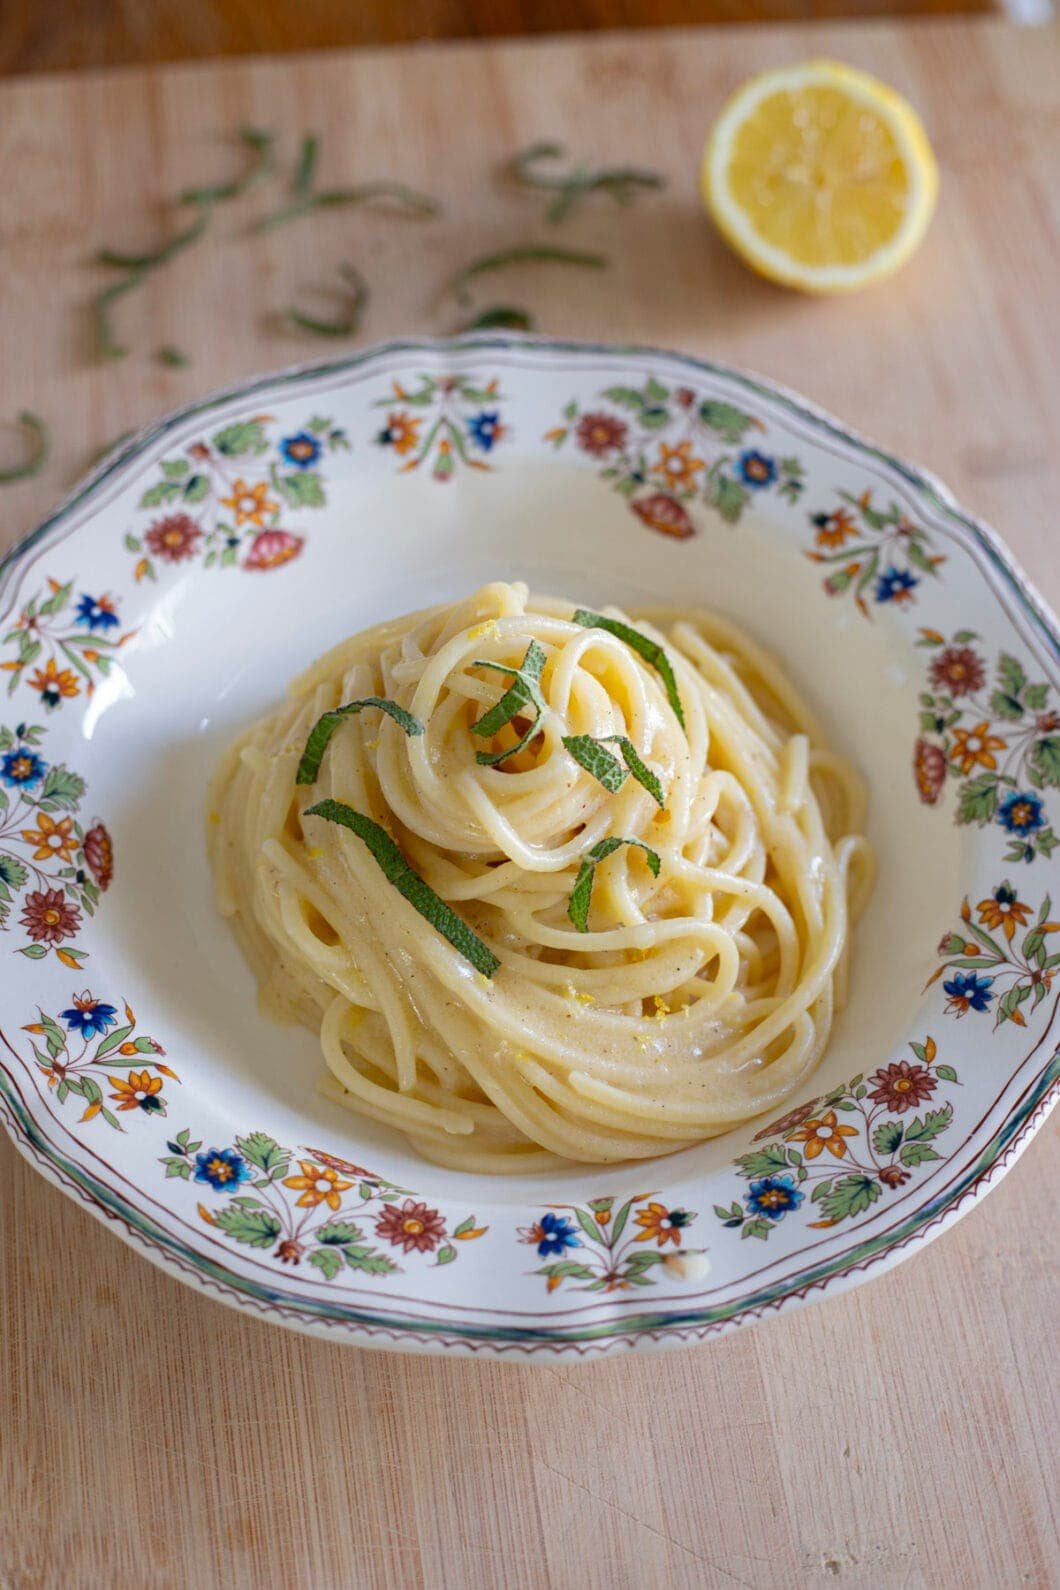
The authentic Cacio e Pepe (litterally “cheese and pepper”) consists in pasta -traditionally tonnarelli or spaghetti, sometimes pici- that you drench in a sauce only made of water and Pecorino romano. Some freshly grounded black pepper lift the dish up just right.

Ingredients – Advice & key points

I usually go to Eataly to get the produce I need. If you don’t have one near your location, you can find fresh produce like guanciale and pecorino at your local Italian deli, maybe even your pasta. For pasta, if not available there, you should be able to order it online quite easily.

  • Pasta :
    • While I believe tonnarelli is the best choice for this recipe, and was usually used in restaurants in Rome when I visited, spaghetti is also ideal.
    • What you must not compromise on is using Bronze Drawn pasta. Why so ? Because when processed this way, the pasta will present small irregularities that will enable the sauce to cling to it.
    • You could use fresh pasta if so inclined ; in this case, I’ll 100% recommend making pici, which are a perfect fit for this recipe.
  • Cheese(s) :
    • Very important : Use some aged cheese ! If below the 8 month range, the Pecorino might be overly moist and won’t melt properly.
    • You can stick to Pecorino Romano only, which is the most traditional way. If your Pecorino type is strong, you might use a 70/30 blend with Parmigiano, which will tone down the strong Pecorino flavour. It depends on your Pecorino type ; if it is quite aged, in the 24-36 months range, you might benefit from adding a bit of Parmigiano.
    • Careful ; only add your cheese when your fire is turned off ! Else, your sauce will turn lumpy.
  • Pepper :
    • It is important to use freshly ground black pepper.
    • I personnally use this blend from Roellinger, but you can really use any, except highly fragrant, exotic ones.
    • If you don’t own a mortar and pestle, simply use the bottom of a small pot.

Recipe – What to pay attention to

  • Pasta :
    • Don’t oversalt ! While 10g of salt/liter is usually recommended, here, with the salt from the cheese, you can easily halve this amount.
    • We’ll cook the pasta half of the packet cooking time in water, then in the pan with the peppery water. It is important that you taste several times starting 2 minutes before the theoretical end time, so that you get perfect al dente pasta.
  • Black pepper :
    • You want to toast it once ground, but don’t let it burn or it’ll taste bitter. Once fragrant, it’s already enough.
  • Pecorino :
    • It is very important to thinly grate your Pecorino to that it melts properly. Look at my carbonara picture ; this is the thickest you can get. You can use a microplane or a lime zester, but if you have a kitchen robot with a really thin setting, it will also work just fine and save you the trouble.
    • Do not use pre-grated cheese ! Additives are added to these cheeses so that they don’t clump together, which will prevent it from integrating properly in your sauce.
  • Adding your sauce : Remove your pan from heat at least 20 seconds before adding your sauce, otherwise the eggs might overcook. Then incorporate your sauce progressively.
  • Plating : I highly recommend heating your plates in the oven for 10 minutes at 80°C before plating. This will prevent the sauce from getting cold too quickly and become unappealingly “set”.

Now you’re fully ready to cook a magnificent pasta dish. Off to your kitchen !

If you’re interested in more authentic italian recipes, you can also check my Ragu alla Bolognese recipe.

Quick Green Hummus (with Peas & herbs)

When I have guests coming over, I often feel overwhelmed ; it then comes down to a choice between either a hassle of time-consuming recipes, or the disappointment of store-bought, ready-made and quite tasteless produce. 

Thankfully, I’m starting to have a nice collection of quick and tasty, crowd-friendly recipes ! This Green Hummus is one of them. 

Aside from the addition of green peas and herbs, I kept this Hummus recipe as authentic as possible, while also making it fuss-free.

Other recipes would advise you to cook dry chickepeas instead of using canned ones, as the taste is better ; or to cook canned ones 20 minutes to make them overcooked, resulting in a softer texture. 

But we all know how time can be a precious, and limited, supply ; so how about a recipe that gives you a truly creamy hummus, within 15 minutes, only using a food processor and not a blender ? 

There are only 3 simple steps in this recipe : 

  • Gather your ingredients. Peel your garlic & remove its germ (3mn) ; 
  • Remove your chickpeas’ skins. Pour your chickpeas in a large bowl filled with water, and stir with your hands, slightly rubbing them as you go without crushing them. This will remove most of the chickpeas’ skins effortlessly ; they will float towards the surface (5mn) ; 
  • Blend your ingredients (7mn).

That’s all ! You won’t go back to store-bought, trust me !

Quick Green Hummus – Recipe

Ingredients, process – Advice & key points

  • Tahini : This ingredient is key in achieving a creamy, silky texture for your hummus. Many Westernized recipes don’t include enough tahini ; some Israeli ones go as far as putting equal amounts of tahini and chickpeas. Taste as you go, but I recommend at least 4 tablespoons here. 
  • Using ice cubes will help in achieving that creamy texture ! If you don’t have any, just replace them with cold water.

How to serve your Green Hummus

  • Toppings : My favourite toppings for my Hummus are the following :
    • actual chickpeas and green peas,
    • olive oil (most important topping imho),
    • sumac
    • and paprika.
  • What to eat your Hummus with ? Well, for me, it’s always :
    • carrot sticks (their sweetness pairs perfectly with this hummus) ; 
    • and small pieces of pita bread, or any other type of bread available !

But you can definitely get creative and use red bell pepper strips, celery strips, radishes, crackers…

Now let’s apéro ! 

Quick Szechuan Noodles (“Ants Climbing a Tree”)

I know. Why ants ?! Why trees ? Isn’t this name peculiar, and a tad unappetizing ?

Let me tell you why not. First, well, look at the picture. Second : how often do you see “Quick” + “Szechuan” paired together ? Take a look at my spicy Szechuan beef soup and check out the cooking time / the ingredients list. Yup ; these recipes do usually require some time, and some tricky-to-find ingredients.

Now that we might agree on this recipe being both enticing and easy to make, I bet you still want an explanation for this funky name. And don’t give me no nonsense about the Asians eating insects ! See the minced meat that sticks to the noodles ? This is reminiscent of ants, that would be climbing on trees (noodles, here). That’s all ; thankfully, no actual ant was harmed in the cooking process !

This dish reminds me of a Chinese ragù pasta ; quite meaty, as ragù should be, and with a light, thin sauce that clings to the pasta. Plus, the noodle is al dente, because mung bean noodles remain firm and chewy.

Tase-wise, the Doubanjiang, which is a spicy, salty paste mainly made from fermented beans, gives a little kick to the dish, but nothing too strong. Overall, Ants Climbing a Tree is a pretty mild Szechuan dish with a savoury, comforting taste, that you can make within 20 minutes. Pretty exciting, right ?

Quick Szechuan Noodles (“Ants Climbing a Tree”) – Recipe

Ingredients – Advice & key points

  • I used beef here, but the most traditional choice here would be minced pork. You can definitely choose either.
  • Only 3 ingredients will require a trip to the Asian store, but they are usually easy to find :  
    • Doubanjiang, or Toban Jan : spicy, salty paste made from fermented beans and soybeans, salt, rice and various spices. I usually go for the Lee Kum Kee Toban Djan brand.
    • Mung bean noodles : also named glass noodles or cellophane noodles, are thin, transparent noodles made from mung bean starch and water. We love them here because they’re soft, slightly chewy, and absorbent, making them great for soaking up sauces and broths.
    • Shaoxing rice wine : one of the essentials of your Chinese pantry ! This one is darker than your classic rice cooking wine, and has a more complex taste.
  • If you don’t own a seasoned carbon-steel wok and only have a nonstick wok or nonstick pan, it’s OK. You’ll just have to preheat it well for a few minutes ; also use 1/2 the amount of oil indicated ; and cook the ingredients a bit longer.

Let’s wok it up!

Spanakopita (Spinach & feta flaky pie)

Greeks know how to make veggies fast-food-level-enticing, don’t they ? I’d crave this spinach pie as much as a Quarter Pounder with cheese.

I was lucky enough to have Spanakopita in Greece first, then in an authentic Greek restaurant in Paris. This acted as a definite reminder that I needed to figure this recipe out, and the sooner, the better.

I was left dumbfounded by the fresh, sweet and fragrant taste of this pie ; you’d think it bitter and plain , with all this spinach, but it is quite the opposite. The herbs trinity used –mint, dill and parsley– is essential here ; on top of the bright acidity feta cheese provides, they bring out a welcome freshness to the dish, and strong herbs like dill create an additional depth of flavour. I wouldn’t skip any of them.

The texture of this flaky pie is key, too ; I definitely recommend using filo sheets, which I found quite easily in Greek shops. Their lightness and crispiness works perfectly with the quite dense and soft filling.

Spanakopita – Recipe

Ingredients – Pieces of advice

  • This is one of these recipes where I recommend you not to alter the ingredients too much ; the spinach, feta cheese, herbs trinity and filo sheets are all important to the tastes and textures’ balance, in my opinion.
  • You will find filo sheets and blocks of feta cheese quite easily in Greek shops or on the internet. In France, feta cheese if even found in small supermarkets.
  • Careful : the recipe requires a massive amount of spinach. You have 2 choices here, depending on the time you’re willing to spend on this recipe :
    • Buy them frozen, which saves quite a bit of prep time. You need to thaw them, squeeze them, and slice them up roughly. That’s it !
    • Buy them fresh. In this case, add a whole hour of prep time ; you need to :
      • wash them thoroughly, making sure each leave is clean and devoid of any bugs and dirt ;
      • remove any large stem ;
      • pan-fry them in batches so that they wilt ;
      • squeeze out the excess water ;
      • slice them up roughly.
  • Make sure to properly squeeze out the excess water from your spinach ; if you don’t, the filo sheets might get too damp, which is not what you want in order to get a crispy Spanakopita.

Off to your kitchen now !

Note : This happens to be a vegetarian dish, and I have never thought of it as such -I assure you your omnivore friends will be equally thrilled by this wonder !  
Thai Curry Noodles with Fishballs

When I was in Thailand a few months ago, I had Khanom Jeen, a wonderful fish-based curry dish that I will definitely recreate for you some other time.

Recently, at bedtime, my mind started drifting towards those food memories, as per usual, and I suddenly had the urge to create a fish-based curry dish. This is how I slowly started crafting this dish in my mind ; it is loosely Khanom Jeen-esque, but also incorporates Italian pasta techniques.

I don’t how if I should apologize to Italians or Thai people for this strange fusion dish ; and quite honestly, after trying it out, I didn’t feel like apologizing. The homemade Thai curry paste, boosted by a simple but fragrant Thai fish stock, propels this dish to new levels. One could make it brothier, but I chose to cook the pasta alla risottata -the Italian way ; with enough starchy water to make it properly saucy, but no more. The added fishballs give a hotpot vibe to the dish.

Beware ; this dish is spicy. If you want it less spicy, do adapt your curry paste by using less small, spicy chilies. You could also make it milder by adding more coconut milk and fish broth.

Thai Curry Noodles with Fishballs – Recipe

Ingredients – Advice & key points

  • Adaptability: This recipe is fully adaptable. 
    • You can use a different kind of noodles, different veggies, different proteins, or even a different kind of broth.
    • The only main criterion is to season whichever broth you’re using with a decent curry paste, that I highly recommend to be homemade.

Let’s get saucy!

Chinese Fishballs

My love for fishballs started with hotpots. Of course, we all want to dip those beef slices first ; but after two or three, those bouncy, soft fishballs start catching your eyes.

And so they should ! With a touch of herbs and a hint of sesame, and this unique texture that requires you to smash this fish a little, Chinese fishballs are quite addictive. I find that they pair very well with a broth -I especially like them with a broth, be it a Szechuan spicy broth, or a mild Thai broth, that you might flavour with red pepper paste for a spicy kick. You can also fry them, and they’ll be deliciously crispy on the outside and mellow ion the inside.

For a quick dinner, pair these fishballs with noodles or rice, plus any broth you like. Add a few herbs, some chili oil maybe, and you will be very happy.

Those fishballs are quick and easy to put together, but do account for a 30mn resting time in the fridge.

Chinese fishballs – Recipe

Ingredients – Advice & key points

  • Fish meat:
    • Pair this recipe with Thai fish broth ; this way, you’ll use up your fish carcasses as well as their meat !
    • You can use any white fish you like, so favour using the cheapests, such as pollock, tilapia or pangasius.
    • Whenever you need white fish for a recipe, simply ask your fishmongers’ to keep their carcasses separetely !
  • Other ingredients (scallions, sesame oil, ginger…): You should be able to find them in any Asian store or simply at your local grocery store.
  • It’s worthwile to leave your fishballs in the fridge 30 minutes. Resting lets the meat proteins bind together, leading to a firmer and more cohesive filling that is easier to handle and less likely to fall apart during cooking.
  • Weeknight Idea : Launch your Thai broth first, let it simmer 45 minutes. Finish it with some fish sauce and lime. Meanwhile, make your fishballs. Finally, add your fishballs + noodles to your broth. You’re done within an hour !   

Let’s fishball !

Note : This recipe will provide you with around 14 medium-sized fishballs. If you make them smaller (recommended), you’ll get 18 to 20 of them.