Post Type ArchivesRecipes

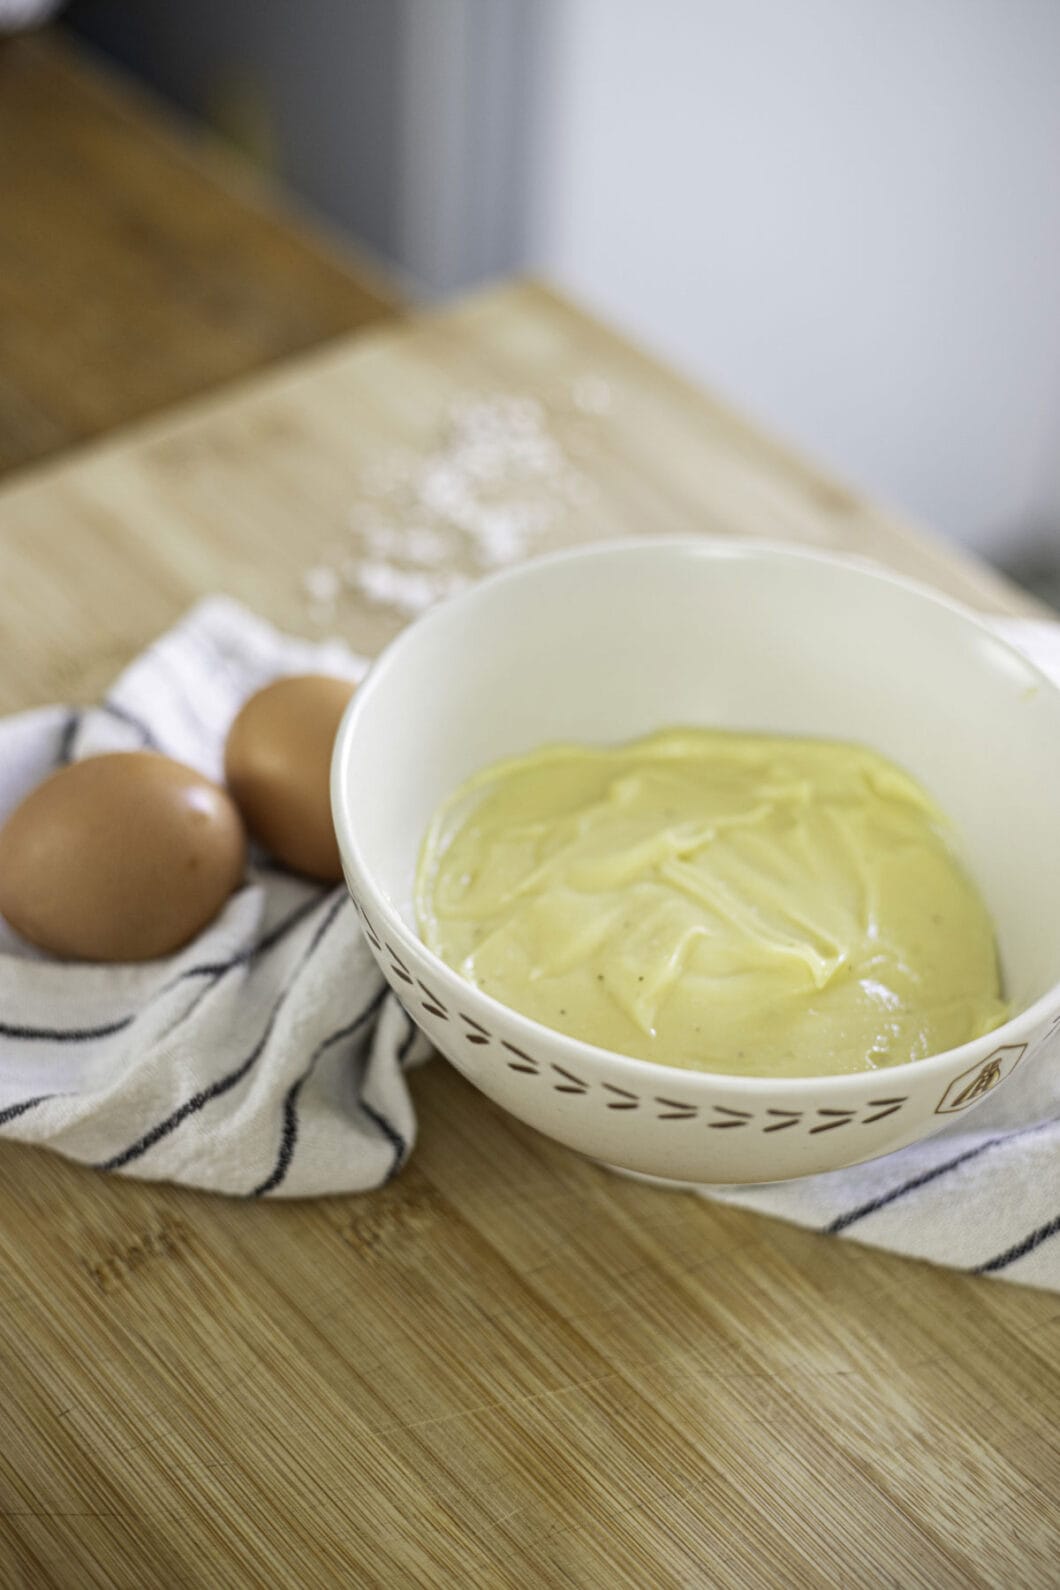
Foolproof Mayonnaise

The French have a passion for mayonnaise. In decent French bistrots, you will always be served homemade mayonnaise with any dish containing meat and/or fries.

Homemade mayonnaise’s texture is just a dream. Thick but slick, eggy, rich and creamy, really in-between butter and oil.

I’m not one to obssess over making everything from scratch, but here, the grocery store version and the homemade one are simply worlds apart. What’s important is also that it doesn’t take longer than 10 to 15 minutes from start to finish. Try it and see for yourself : I don’t think you will ever go back to store-bought.

I used to be intimated by the thought of making it. But since using this recipe, I have yet to fail and see my mayonnaise fall apart.

A few pieces of advice -to make sure it all goes well !

  • Your ingredients should all be at room temperature ideally.
  • Not only does the addition of vinegar and mustard bring some flavour and tang to this mayo ; they both act as stabilizers, which is why this mayonnaise is failproof.
  • The addition of salt -which acts as a biding agent- before starting to whisk also helps.
  • The most important thing to keep in mind is to pour your oil ever so slowly, especially at the beginning. It should trickle down in one thin drizzle. I also recommend pausing from time to time if you feel you’ve overdone it.
  • You can use a simple whisk -your arm will have to work hard, but it will be ok, especially if you make a few pauses. The trick then is to use a kitchen towel to secure your bowl, because your hands will be busy holding the oil and the whisk. Alternatively, and I tend to do it most of the times, use a hand mixer with the whisk part attached. It will still feel a bit heavy anyway, with the hand mixer in one hand and the oil in the other, but everything will be stable.
  • In case it goes haywire, it’s possible to mix a small amount of botched mayonnaise with a fresh egg yolk in a clean bowl. Then gradually add the mayonnaise.

Now you’re ready to slather the deliciousness all over your sandwiches, fries and into your salads.
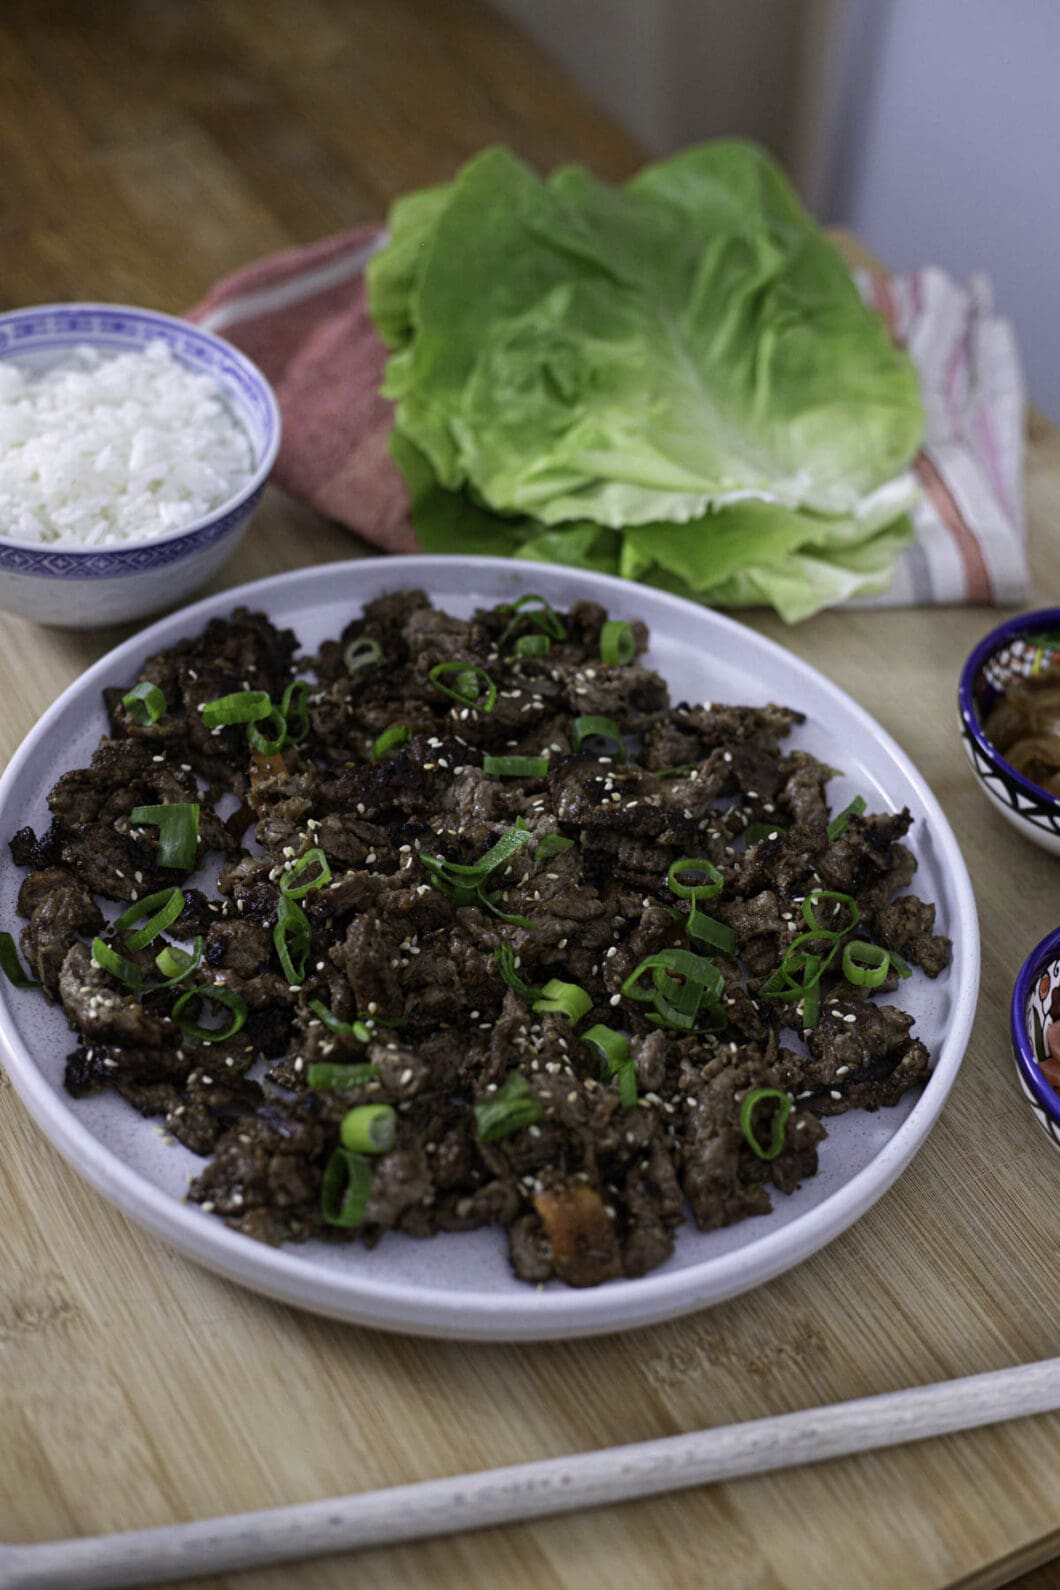
Beef bulgogi

Ever since I came back from Korea, I’ve been missing the classic beef bulgogi.

This dish shows that the Korean cuisine, that I would usually describe as bold (strong fermented tastes, spicy dishes), can also be delicate yet still as flavourful. The dominant flavour would be soy sauce, but here it becomes quite sweet thanks to the fruit juices and the sugar. The garlic and ginger bring a bit of punch. Just add some spring onions by the end and it becomes everything you want ; salty, smoky, sweet, perfumed and fresh.

Beef bulgogi is at its best when barbecued, but you can pan-fry it (use a cast-iron pan if you can) as well.

Bon appétit !

Beef bulgogi – Recipe

Ingredients – Advice & key points

  • Be careful to account for the marinade time ! It’s best to prep this dish the day before you cook it.
  • Beef :
    • You can buy it pre-sliced at the frozen section of your Asian grocery store, if the store is large enough.
    • If you cannot find it, it’s ok ; you can easily slice the meat paper-thin at home ! You will only need to freeze your cut around 1 hour (maybe more, depending on its size) to make it easier to cut. It should be quite solid, but not rock-solid. I often do this even if I can get frozen pre-sliced meat, simply because it is easier for me to check the meat’s quality when I buy it from by butcher.
    • If choosing from a butcher, I recommend using a good cut of beef, like ribeye or tenderloin, but you can also use flank steak ; the marinade will help tenderizing it. It is important to choose a cut that is not too lean so that the meat remains tender.
    • Also, remember to cut against the grain to get a tender texture.
  • Nashi pear : You might find it at your Asian store if they have a fruits and vegetables section. Otherwise, replace it with red apple.
  • The remaining ingredients are either basic Asian pantry items or produce you can easily find at the grocery store.

How to eat bulgogi

  • You can eat it like me, wrapping your bulgogi in lettuce leaves, with some rice, Ssamjang and a bit of kimchi !
  • You can also make simple bulgogi rice bowls, which is what I do most of the time. Simply cook some Korean rice and pour over your bulgogi. This is easy to make and reheat for lunch or later use.

Let’s dig into it !

Spicy Szechuan beef soup (Mala Xiao Mian)

This is one of my all-time favourite dishes. I am excited just writing those lines.

Around 10 years ago, I did not know much about Asian cuisine. I was finishing a finance internship in Paris, and we were looking for a cheap, student-friendly place to eat. A foodie friend took us to this new little restaurant called Trois fois plus de piment, specialized in Szechuan cuisine. I ordered a ravioli soup, thought, meh, this is spicy and pungent, not sure I like it.

Fast-forward 2 years, I went to South Korea as an exchange student and discovered the beauty of their spicy, fiery cuisine. It was an eye-opener for me, and the starting point of my journey towards Asian cooking, which, itself, is how I begun to cook so much and develop a passion for it.

I returned to France with a trained new palate, educated in all things spicy. I went back to Trois fois plus because I was craving some real heat, ordered the right dish this time : their best-seller Spicy Szechuan beef soup. Dang. It was love at first bite.

My boyfriend and I kept coming back for it. Soon I started trying to find a recipe for it, but they all seemed off to me.

I kept on researching, hoping that one day, I’d be able to make a Trois fois plus copycat. I am so grateful for authentic cooking blogs that developed over the past few years, coming from as far as China, allowing some random French people to discover wonderful foreign cooking secrets.

A few months ago, after some long-term research and trial-and-error, my boyfriend tried my latest recipe. I asked, “is it almost as good as Trois fois plus de piment ?”. He answered : “No. It is better.”

I couldn’t believe it. Then I tasted myself. And I had rarely been this happy and proud.

Mission accomplished.

Spicy Szechuan beef soup – Recipe

I know, this is a long list of ingredients. But you mostly stir everything together, wait for it to cook, and assemble !

If you’re not into spicy food though, or if you’re looking for an easy weeknight recipe, you want to go for a clearer, more straight-forward broth, such as this beautiful Napa Cabbage soup with shrimps from servedwithrice.com.

Ingredients – Advice & where to find them

Although I thing this dish is worth every effort, I recommend trying it if you are interested in Chinese cooking enough to make a few different national dishes. Indeed, it requires you to a buy a small list of specific pantry items.

  • If you’re in Paris :
    • you can go to Tang Frères in the 13th (they have other stores in Paris but be careful, some are small, this one is large) or Paris Store in the 10th ;
    • ever since I moved to the 18th, I’ve been going to XP 16 or Chen Market, but those shops are slightly smaller, especially XP16, and you might not find everything you need. 
  • If you’re in France :
  • For my foreign friends : I bet you can easily find some Asian shops around you or online, but if you can’t, message me with your location and I will try to find it for you !

Ingredients – What the hell are those

  • Suì mǐ yá cài, or yá cài : pickled mustard greens with a salty and pungent flavour. It uses the upper, thinner part of mustard leaf stems.”Suì mǐ” (“crushed rice”) refers to the appearence of the pickle, with a vegetable that is thinly minced. “Yá cài” refers to the vegetable name.

I couldn’t find it in the store, so I used Zha Cai, which is the lower part of the mustard stem. You can use it as a replacement. You’ll have to mince this one. But don’t skip it ! It is essential to reach the soup’s umami-deep flavour.

  • Doubanjiang, or Toban Jan : spicy, salty paste made from fermented beans and soybeans, salt, rice and various spices.
  • Shaoxing rice wine : one of the essentials of your Chinese pantry ! This one is darker than your classic rice cooking wine, and has a more complex taste
  • Chankiang vinegar (Chinese black vinegar) : another essential if you’re cooking Chinese food, or even if you only want to dump your chinese dumplings into the classic soy sauce and chinese vinegar mix. It is made out of glutinous rice, and has a malty, slightly sweet flavour.

Now let’s turn your kitchen upside down !

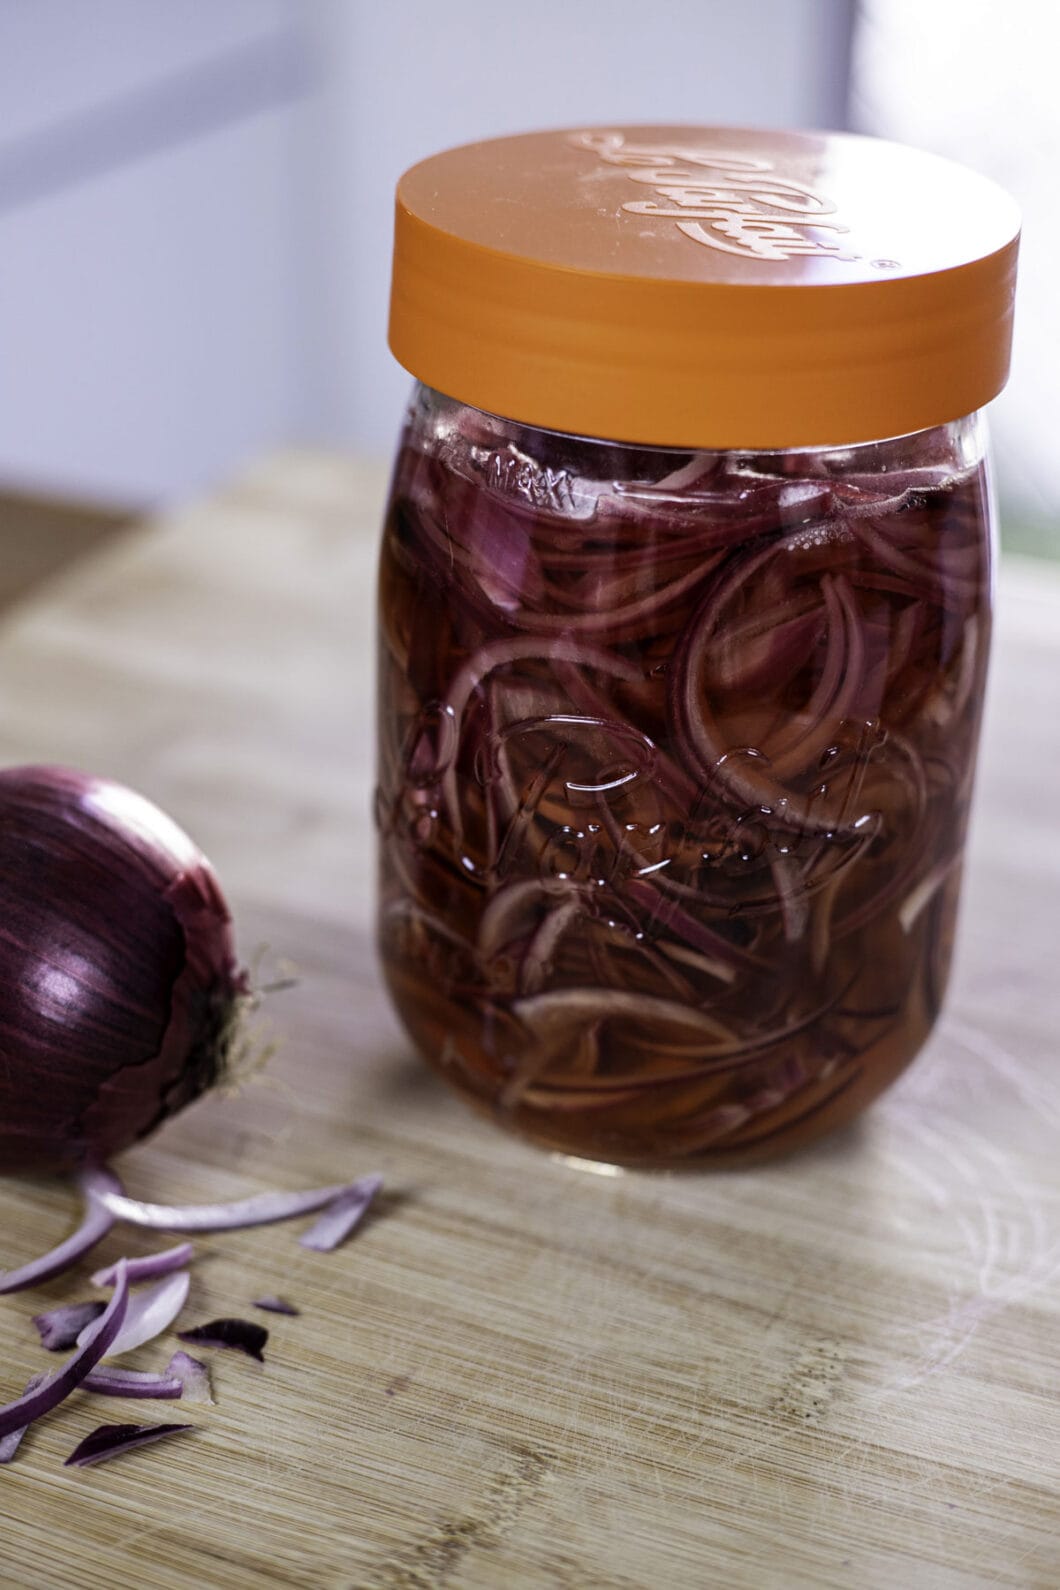
Basic Pickled Onions

Last winter, I had friends coming over to my place for brunch. I served them some avocado toasts with soft-boiled eggs and cilantro. When I grabbed my pickled onions jar to put some over, they were funnily impressed ! They though it was fancy and gourmet.

This is funny to me, because pickled onions are the simplest condiment to make. And you only need 3 ingredients besides water and salt ! You can customize their basic version if you want and add things like mustard seeds or bay leaves, but the plain ones are great too.

You don’t want to throw em everywhere just because they’re pretty ! I add some to a dish when it seems relevant, to offset a sweet flavour or a quite high fat content. They also give a nice kick to raw vegetables, say in salads or sandwiches.

Get ready to have your guests impressed though. It never hurts !

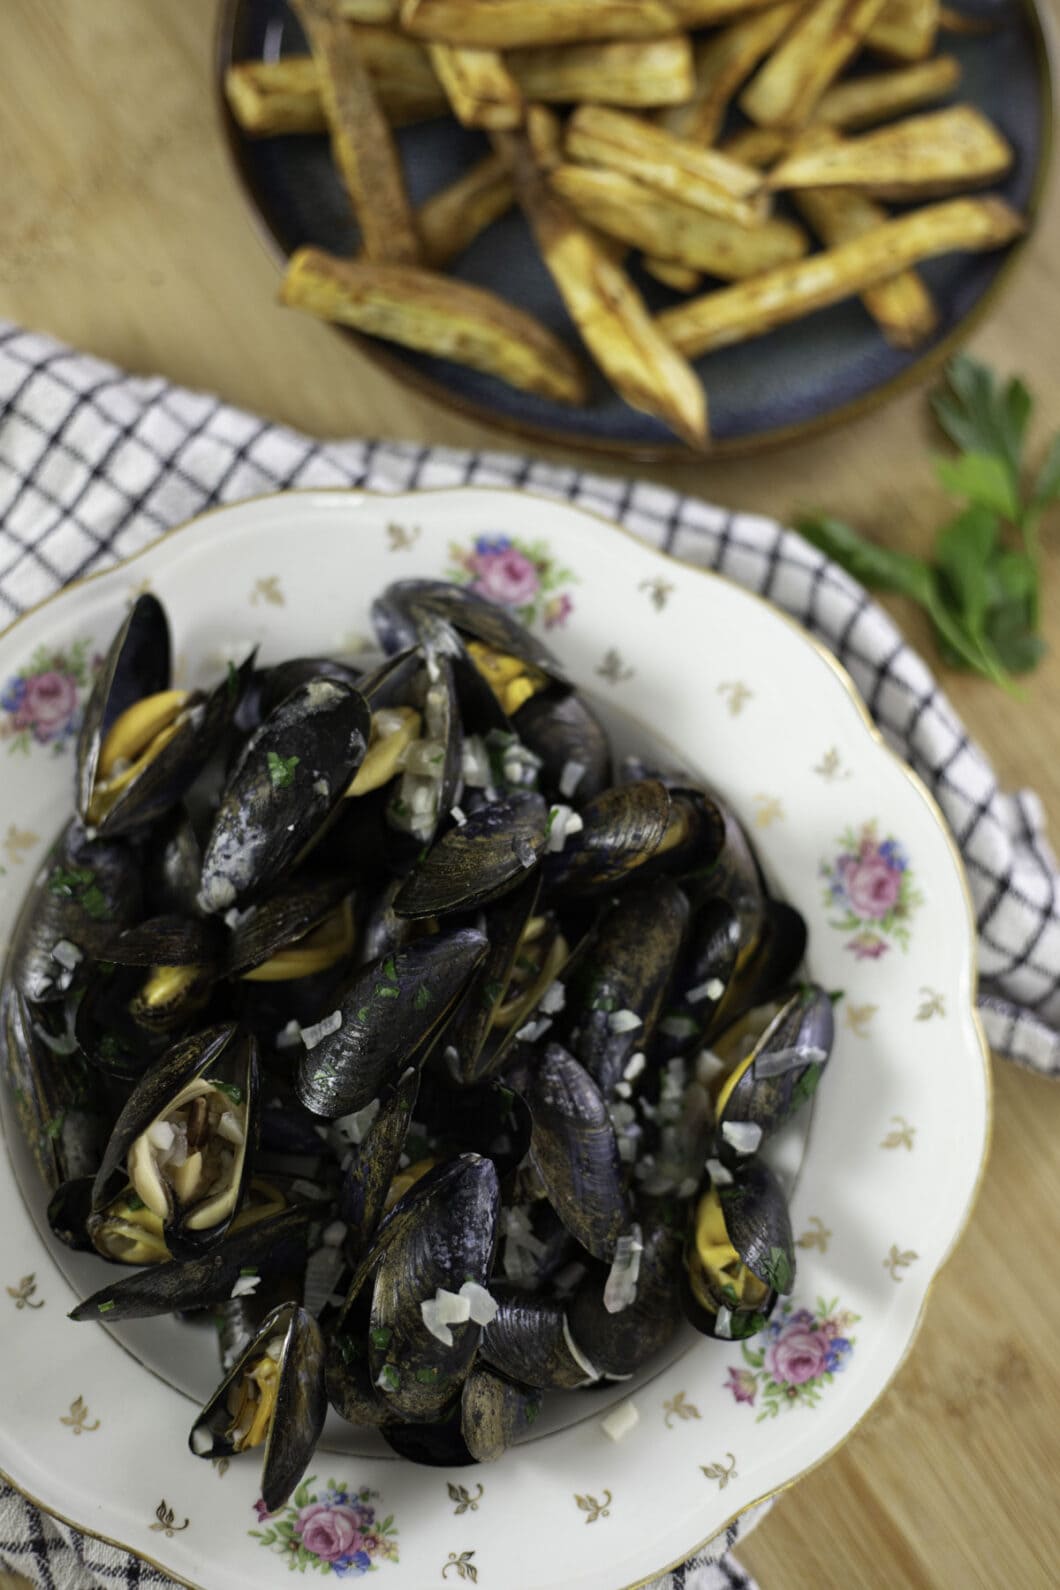
Moules marinières

Almost every year since I met my companion, I’ve been going to the Braderie de Lille, which is dear to his heart. This is the largest flea market in Europe. It occurs yearly all over Lille, usually during the first week-end of September.

It is a flea market all right, but I’d say people don’t care much about buying stuff ; most of them just walk around, a beer in hand, laughing at highly inebriated people all around who sing and shout and dance, sometimes wearing disguises. Aside from inhabitants selling their old tables, kitchenware and whatnot, shopkeepers will often have an outside booth where they’ll showcase their produce, with massive discounts. There’s also food and drinks everywhere.

Besides beer (Northerners love their ale), there is one thing you’ll find on every street  : les moules-frites !! Each year, 500 tons of mussels and 30 tons of French fries are sold at the Braderie. Yes, tons ! Many different recipes are offered, from Moules Poulettes (mussels with a rich cream sauce) to mussels with chorizo.

But the classic one is Moules Marinières. This dish is so simple to make ! Yet, if you prepare your mussels correctly and buy them in season, they only need a few condiments to shine.

In France, for example, the Moules du Bouchot, the tastiest ones, should be consumed between July and February ; please find out the best season for your local mussels ! If you cannot, ask me and I’ll check for you.

I must say I am too lazy to make proper French fries to go with it though. If you want the dish on the table quickly, and with less calories, just make fries using your Air Fryer or your oven, like I do. It will make for a simple, tasty and healthy dish.

Moules marinières – Recipe

Picking and storing your mussels – Pieces of advice

  • It is important to buy your mussels in season, and to prepare them quickly after buying (within 48 hours at most ; 24 hours ideally).
  • Once home, remove the mussels from the plastic bag. Place in an unsealed bowl or container.
    Cover with a clean, damp cloth or paper towel. Remember: never store in water!
  • Store in the refrigerator’s vegetable crisper.

Mussels are fragile, because they are still alive when you buy them, and must remain so until cooked. You cannot freeze them, for example, else they’d die.

Prepping your mussels – Key points

  • When washing your mussels, be sure to not leave them in the water for too long, and always keep them moving. This way they won’t lose their flavour.
  • The best way to go is to fill a clean sink with water, drop the mussels, make circular motions for about 1 minute, then remove.
  • While checking each mussel for beards and barnacles (see instructions), it is very important thay you discard any opened or broken mussel.
  • When you have your mussels ready in your plate, do not eat any of those that did not open ; throw them away.

Now you’re all set !

Sweet potato & chorizo tacos

Tacos de papa con chorizo is a classic Mexican dish.  You dice and fry some potatoes, fry your chorizo, mix it together and put it on a taco.

I felt I could fiddle with it, both in terms of texture and depth of flavour. I was so happy with the end result ! I replaced the potato with sweet potato, which brings a sweet, fruity flavour that pairs perflectly with the heat of the chorizo and the hot sauce. The sweet potato is mashed with butter, not sautéed : it forms a sweet little pillow on your taco, making it feel less dry.

Sweet potato & chorizo tacos – Recipe

Ingredients – Advice & key points

The trickiest part of the recipe is to get the ingredients. The rest is a breeze !

  • If you’re in France or in Spain, you can order from La Esquinita. They also have a physical shop in Paris I go to. This is where you can find authentic hot sauces (my favourite is this one, but only if you’re used to eating spicy food) and tacos de maïz.
  • If you’re in Île-de-France, you can find the tastiest Colombian chorizos from El man de los chorizos. I had a Colombian friend recommend it to me (thanks Tatiana, if you read me !) and I understand why. Mine is the spicy one.

For my other pals all over the world, just tell me where you live and I will look online if I can find some good options for you ! You can also make a quick google search for Mexican shops, I believe it will not be too hard to find in most countries.

Ingredients – A few specifics

  • Tacos : I recommend using corn tacos, which are more traditional are flavorful than their wheat counterpart.
  • Mexican chorizo : Don’t confuse Mexican chorizo with Spanish chorizo. A Mexican-type chorizo is seasoned raw meat (often within a sausage) and is usually cooked like ground meat, removed from its casing. My Colombian (haha, sorry it’s confusing) chorizo belongs to this kind. Spanish chorizo, on the other hand, is a dried cured sausage that you cannot crumble. Its texture is very different and would be inappropriate here.

If you cannot find it, there are some recipes online for it. There are also interesting vegetarian alternatives ; I hope to try one soon.

  • Pickled onions : If you don’t have some on hand, just use lime juice.

Now let’s cook it !

If you want more butternut recipes, you can also check my Butternut and guanciale pasta or my Autumn mini-pizzas. (ajouter liens)

Authentic Carbonara

This recipe is special to me.

I believe it represents what good cooking is. It’s simple, but it requires a bit of patience and research to master. It lets the ingredients shine. It is not pompous, it is cheap, but it is so much greater than the sum of its elements. There’s only 5 of them ; but the flavours, oh my !

Now I do not have any Italian roots, but I must have had in another life, because a true Italian mama lives rent-free inside of me, ready to snap at any rascal who uses cream or pancetta and calls it “carbonara”.

This is the real deal. Try it, and accept to maybe fail once or twice before succeeding ; you will be glad you did.

Authentic Carbonara Recipe

The authentic carbonara consists in pasta with guanciale – which is cured pork cheek, a highly fatty part- that you drench in a sauce made of eggs and pecorino (plus some parmigiano if you want to).

The challenge is to reach the perfect texture for your sauce. You must not cook it, otherwise it will just be a pasta omelette ; but it must not be raw eggs either.

If you follow my instructions, you should manage just fine !

Ingredients – Advice & key points

I usually go to Eataly to get the produce I need. If you don’t have one near your location, you can find fresh produce like guanciale and pecorino at your local Italian deli, maybe even your pasta. For pasta, if not available there, you should be able to order it online quite easily.

  • Pasta : While I believe tonnarelli is the best choice for this recipe, and was usually used in restaurants in Rome when I visited, spaghetti is also ideal.

What you must not compromise on is using Bronze Drawn pasta. Why so ? Because when processed this way, the pasta will present small irregularities that will enable the sauce to cling to it.

Do not use fresh pasta ; as they often contain eggs, it will make the whole dish too “eggy”.

  • Guanciale : You can buy it in blocks at your deli or have it pre-sliced. We want quite thin slices -not paper-thin, but almost- so that they crisp up in the pan, about 1,5cm x 4cm.

I’d really advise against replacing Guanciale with Pancetta, or worse, bacon or lard, as it simply yields a different flavour and fat content.

  • Cheese(s) : You can stick to Pecorino Romano only if you want to, which is the most traditional way, but I prefer a 50/50 blend or 70/30 blend with Parmigiano, which tones down the strong Pecorino flavour. It depends on your Pecorino type ; if it is quite aged, in the 24-36 months range, you might benefit from adding a bit of Parmigiano.
  • Eggs : You should use the freshest eggs you can find, because the sauce is cooked, but barely.
  • Pepper : It is important to use freshly ground black pepper. I personnally use this blend from Roellinger, but you can really use any, except highly fragrant, exotic ones.

If you don’t own a mortar and pestle, simply use the bottom of a small pot.

Recipe – What to pay attention to

  • Pasta :
    • Don’t oversalt ! While 10g of salt/liter is usually recommended, here, with the salt from the guanciale and the cheese, you can easily halve this amount.
    • We’ll cook the pasta half of the packet cooking time in water, then in the pan with the guanciale. It is important that you taste several times starting 2 minutes before the theoretical end time, so that you get perfect al dente pasta.
  • Guanciale :
    • You want to crisp it up, but still let the fat melt. Therefore, cook on medium heat. The process should last around 6 to 7 minutes.
  • Pecorino :
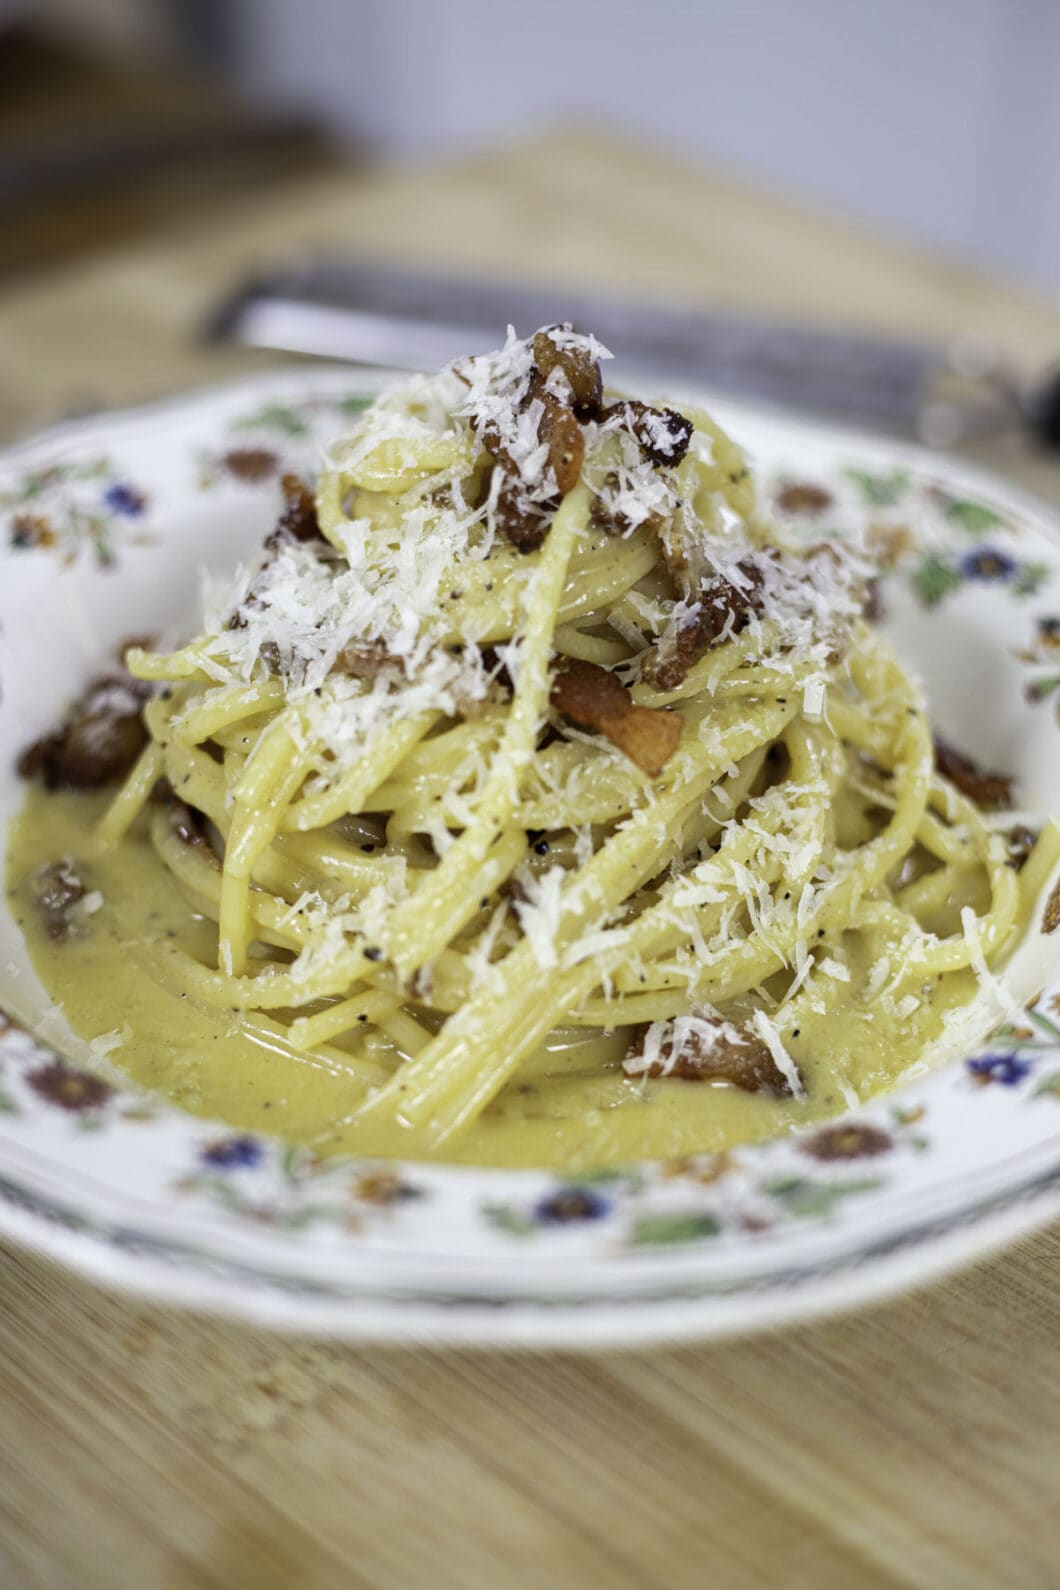
    • It is very important to thinly grate your Pecorino to that it melts properly. Look at my carbonara picture ; this is the thickest you can get. You can use a microplane, but if you have a kitchen robot with a really thin setting, it will also work just fine and save you the trouble.
    • Do not use pre-grated cheese ! Additives are added to these cheeses so that they don’t clump together, which will prevent it from integrating properly in your sauce.
  • Adding your sauce : Remove your pan from heat at least 20 seconds before adding your sauce, otherwise the eggs might overcook. Then incorporate your sauce progressively.
  • Plating : I highly recommend heating your plates in the oven for 10 minutes at 80°C before plating. This will prevent the sauce from getting cold too quickly and become unappealingly “set”.

Now you’re fully ready to cook a magnificent pasta dish. Off to your kitchen !

If you’re interested in more authentic italian recipes, you can also check my Ragu alla Bolognese recipe.