If you could have a dish reminiscent of carbonara AND eat your veg, that’d be a no-brainer, right ?
Well, there you have it. And there is absolutely no sacrifice flavour-wise.
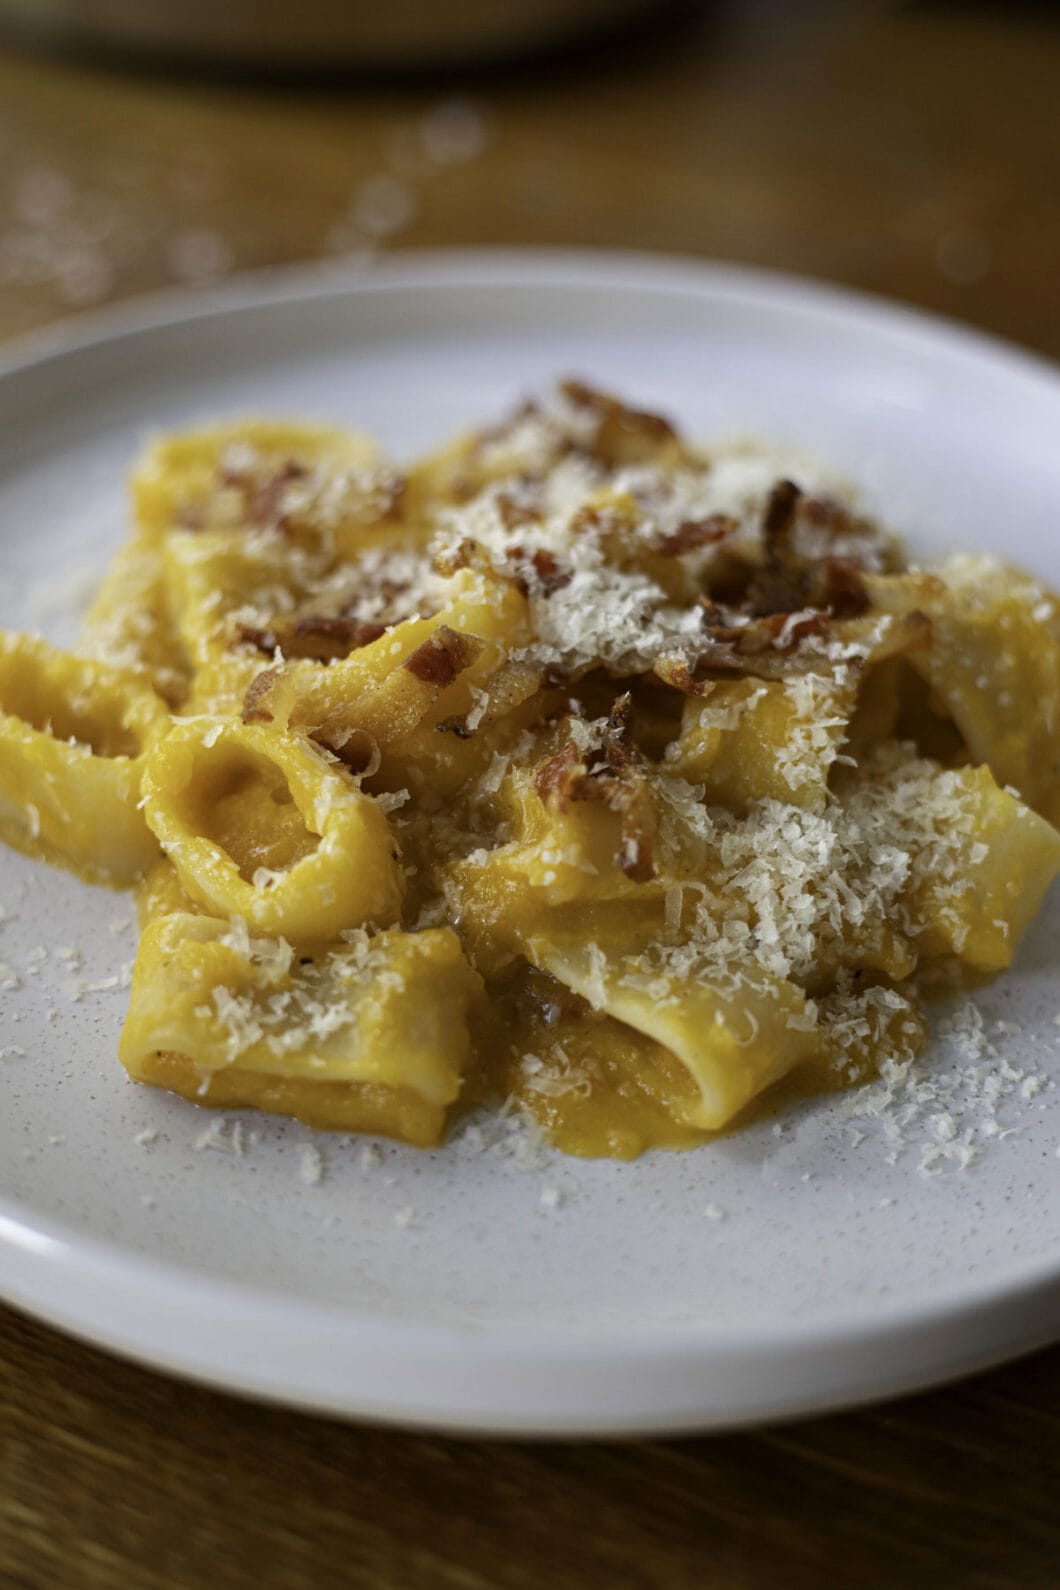
I’d say you could eat it without guanciale for my fellow vegetarian friends, because the magic happens with this creamy butternut sauce paired with lemon zest. Squash and lemon is a classic association that does not disappoint.
Of course though, the guanciale adds some decadent flavour to these nutty, fruity pasta.
Have at it. And send me love messages when you’re done.
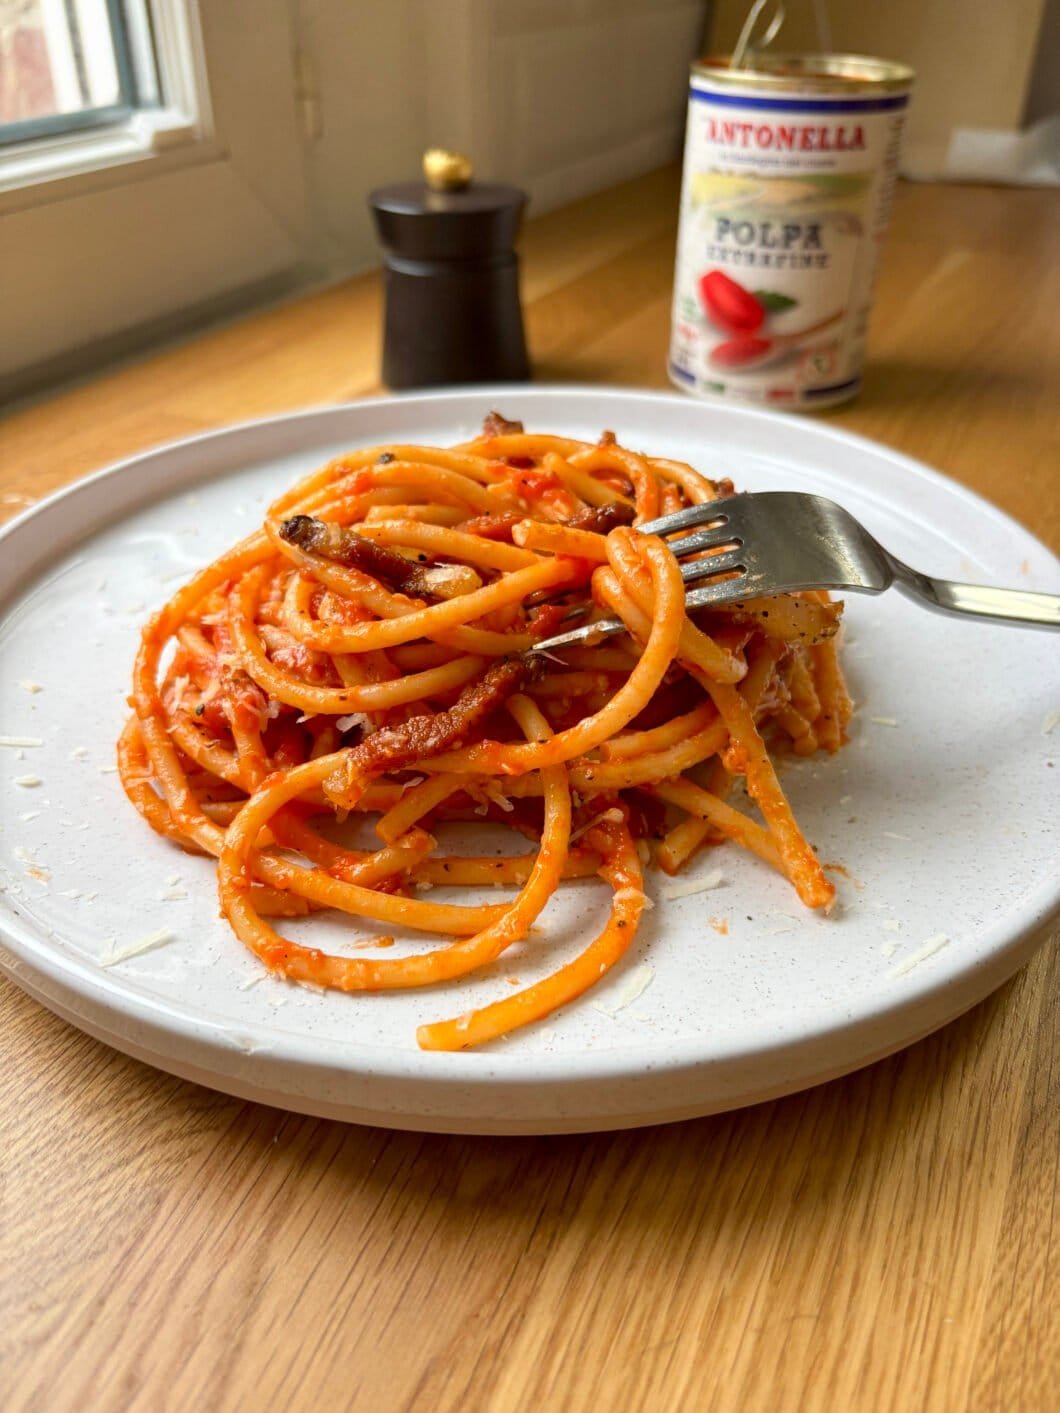
Butternut and guanciale pasta – Recipe
Most of my recommendations here are similar to those on the Authentic Carbonara recipe.
Ingredients – Advice & key points
I usually go to Eataly to get the produce I need. If you don’t have one near your location, you can find fresh produce like guanciale and pecorino at your local Italian deli, maybe even your pasta. For pasta, if not available there, you should be able to order it online quite easily.
- Pasta :
- I believe calamarata is a grat choice here, as the sauce will nestle in the pasta’s holes, but you could also use another type you have on hand, preferably short (because the sauce is heavy).
- If you chose to sieve your sauce though, it will get much thinner, so you can opt for long pasta.
What you must not compromise on is using Bronze Drawn pasta. Why so ? Because when processed this way, the pasta will present small irregularities that will enable the sauce to cling to it.
- Guanciale : You can buy it in blocks at your deli or have it pre-sliced. We want quite thin slices -not paper-thin, but almost- so that they crisp up in the pan, about 1,5cm x 4cm.
Cooking your pasta – Pieces of advice
- Pasta :
- While 10g of salt/liter is usually recommended, here I’d recommend only 7g/liter because of the guanciale.
- As for most pasta recipe, we’ll finish cooking the pasta in the pan with the sauce. Contrary to classic carbonara, we’ll just put them in for the last 4 minutes (there is not as much water here and we don’t want risking the sauce to be too watery).
- It is important that you taste several times starting 2 minutes before the packet theoretical time, so that you get perfect al dente pasta
- Guanciale :
- You want to crisp it up, but still let the fat melt. Therefore, cook on medium heat. The process should last around 6 to 7 minutes.
- Plating :
- I recommend heating your plates in the oven for 10 minutes at 80°C before plating. This will keep your pasta warm longer and will prevent the sauce from getting cold too quickly and become unappealingly “set”.
Now come and cook !